Category: crafting

  • 10 Cozy Autumn Mason Jar Candle Craft Ideas

    10 Cozy Autumn Mason Jar Candle Craft Ideas

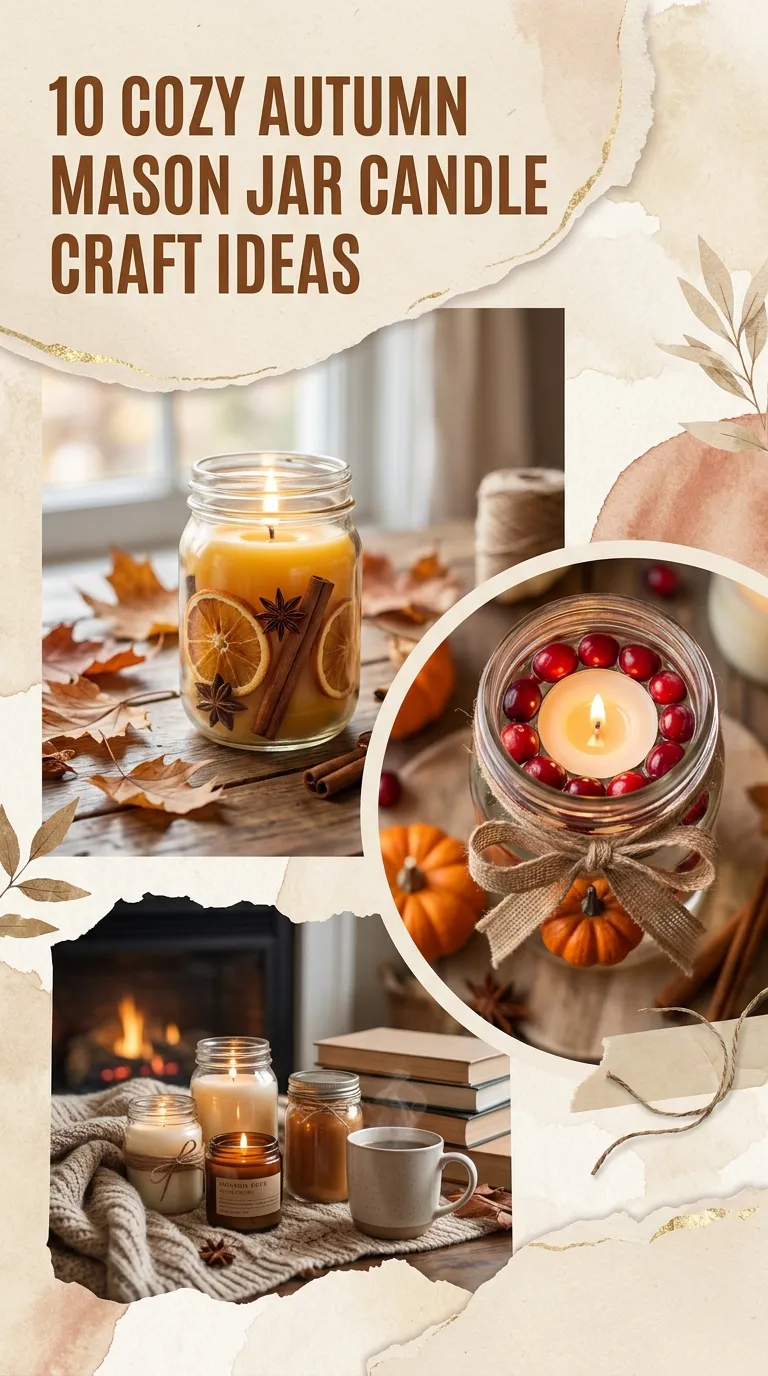
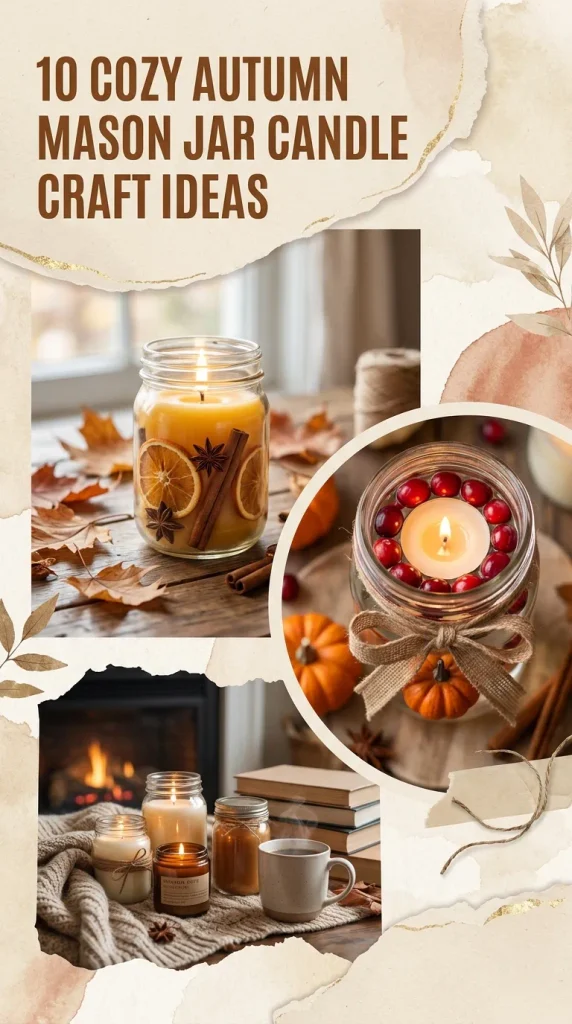
    As crisp air rolls in and golden foliage carpets the ground, nothing sets a welcoming, intimate mood quite like the flickering glow of handmade candles. Upcycling classic glass mason jars is one of the most versatile, budget-friendly ways to bring warm autumnal charm into your living space. Whether your aesthetic leans toward rustic farmhouse, modern botanical, or understated minimalist, these ten DIY autumn mason jar candle crafts will infuse your home with cozy light and rich seasonal textures.
    1. Cinnamon Stick Wrapped Luminary

    This project combines visual warmth with natural aromatherapy. When the candle burns inside the jar, the subtle heat warms the cinnamon sticks, releasing a gentle spiced aroma throughout the room.

    • Materials: Smooth glass mason jars, whole cinnamon sticks (uniform length), hot glue gun, jute twine, pillar candle or votive.
    • How to Craft: Place a thin line of hot glue along a cinnamon stick and press it vertically against the exterior base of the jar. Continue gluing sticks side-by-side until the entire circumference is wrapped. Finish by wrapping natural jute twine tightly around the middle three to four times, tying it off in a neat rustic bow.

    2. Mod Podge Pressed Fall Leaf Jars

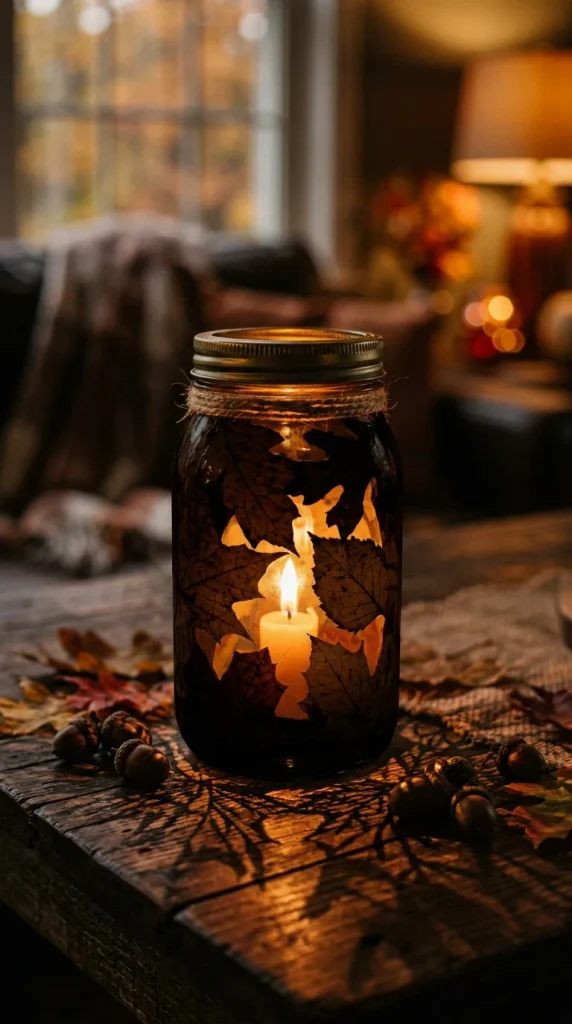
    Capture the vibrant hues of turning leaves with a classic découpage technique. The translucent leaves filter the candlelight, projecting amber, crimson, and gold patterns across your tabletop.

    • Materials: Mason jars, real pressed autumn leaves (or thin faux fabric leaves), matte Mod Podge, foam brush, tealight candle.
    • How to Craft: Apply a generous layer of Mod Podge directly to the clean glass. Gently press each dried leaf onto the jar, smoothing out air bubbles from the center outward. Layer a second coat of Mod Podge over the tops of the leaves to seal them securely. Once completely dry, place a votive or LED tealight inside.
    3. Frosted Epsom Salt “First Frost” Votive

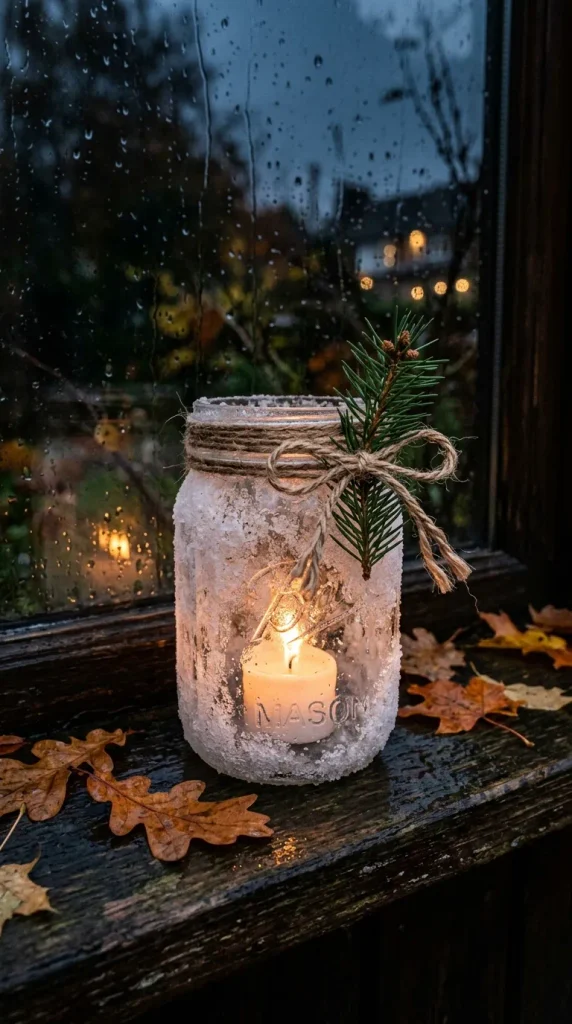
    Evoke the quiet beauty of late autumn mornings when the first frost kisses fallen leaves and bare branches.

    • Materials: Mason jars, Mod Podge, coarse Epsom salt, fine gold or iridescent glitter, faux mini pine sprigs, twine.
    • How to Craft: Mix Epsom salt with a pinch of gold glitter in a shallow tray. Brush the exterior of the mason jar with Mod Podge, then roll the jar through the salt mixture until evenly coated. Allow it to cure for several hours. Tie a sprig of dried pine or cedar around the rim with twine for a seasonal accent.
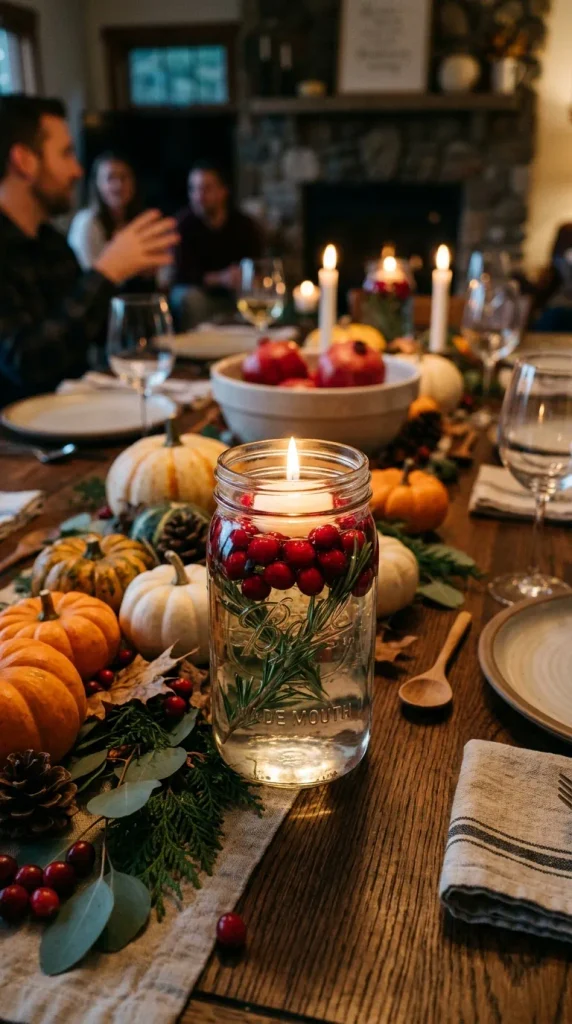
    4. Floating Cranberry and Rosemary Water Lantern

    Fresh, vibrant, and effortlessly elegant, floating water candles provide a stunning centerpiece for Thanksgiving dining tables and cozy evening gatherings.

    • Materials: Wide-mouth mason jars, fresh whole cranberries, fresh rosemary sprigs, water, floating disc candles.
    • How to Craft: Fill the jar two-thirds full with fresh water. Submerge two or three fresh rosemary sprigs, which will naturally stay anchored near the bottom. Add a handful of fresh red cranberries; they will float to the top and create a jewel-toned ring. Gently set a floating white disc candle in the center.
    5. Rustic Burlap and Pumpkin Silhouette Lantern

    Burlap adds tactile texture and farmhouse appeal, while a cut-out silhouette creates a striking focal glow when illuminated from behind.

    • Materials: Mason jars, natural burlap ribbon, cardstock paper, craft knife, fabric glue, LED pillar candle.
    • How to Craft: Measure burlap ribbon to wrap around the middle of the jar. Cut a small pumpkin silhouette stencil from cardstock and trace it onto the center of the burlap. Carefully cut out the shape with a craft knife. Glue the burlap strip around the jar, ensuring the cut-out reveals the clear glass underneath.

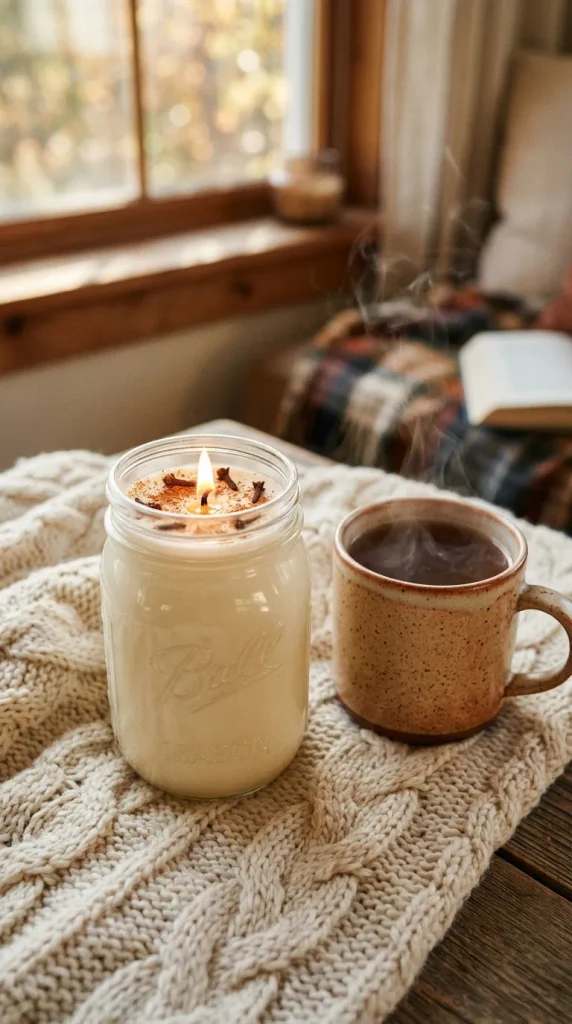
    6. Autumn Spice Scented Soy Hand-Poured Jar

    Pouring your own soy wax candles allows you to customize autumn fragrances—like clove, nutmeg, and vanilla—while achieving a clean, long-lasting burn.

    • Materials: 8 oz mason jars, natural soy wax flakes, cotton candle wicks with glue dots, autumn fragrance oil, wick centering tool.
    • How to Craft: Secure the wick base to the bottom center of the dry jar. Melt soy wax flakes in a heat-safe pitcher over a double boiler until liquefied. Stir in pumpkin spice or spiced cider fragrance oil at around 185°F (85°C). Pour the wax smoothly into the jar, hold the wick centered, and let it cure undisturbed for 48 hours before lighting.
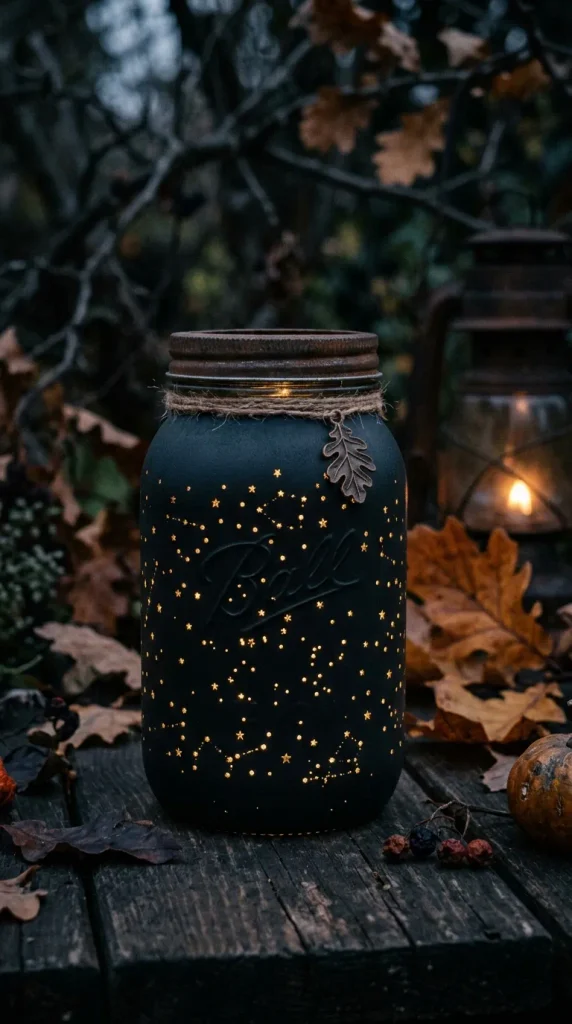
    7. Black Matte Painted Starry Night Jars

    Bring a moody, modern touch to autumn evenings by using chalk paint to create a starry, twinkling effect.

    • Materials: Mason jars, matte black chalk paint, small round foam spouncer, fine-grit sandpaper, battery-operated fairy light string or candle.
    • How to Craft: Paint the jar exterior with two smooth coats of matte black paint. Once dry, lightly distress the raised lettering on the jar with fine sandpaper for texture. Using a fine dotting tool or the tip of a toothpick, scratch tiny constellation patterns or scattered dots through the paint to reveal clear glass. The interior light peeks through like starlight.
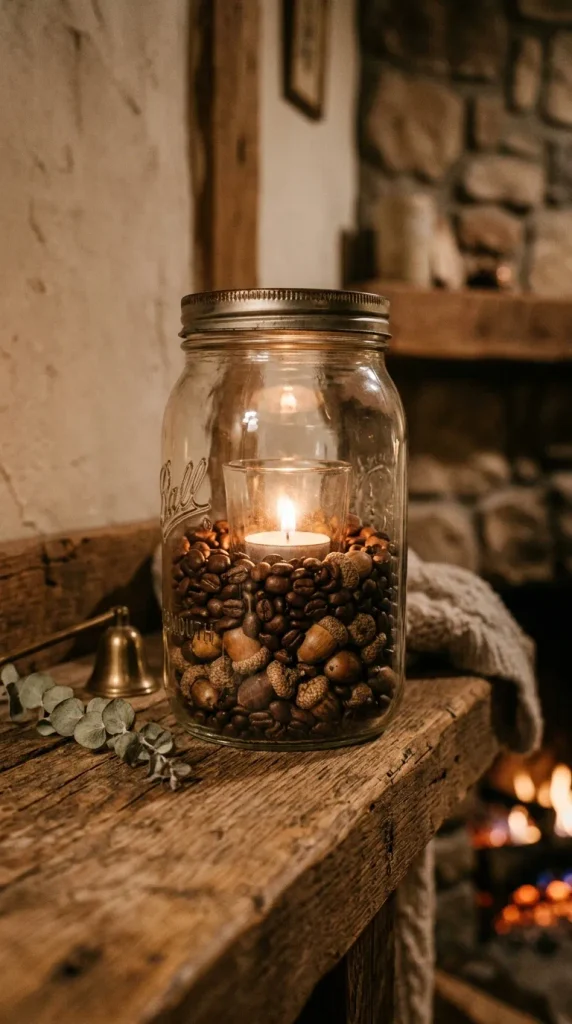
    8. Woodland Acorn and Coffee Bean Base Jar

    Layering dry woodland textures creates a rich, earthy look that smells delicious even when unlit, thanks to the natural coffee base.

    • Materials: Large wide-mouth mason jars, whole roasted coffee beans, small faux or real dried acorns, tall glass votive holder, white votive candle.
    • How to Craft: Place a slim glass votive holder in the center of the mason jar to safely house the open flame. Fill the surrounding gap between the two jars with alternating layers of dark roasted coffee beans and smooth dried acorns. As the votive warms, the coffee beans emit a subtle, comforting café aroma.
    9. Pressed Botanical Fern and Gold Leaf Jar

    A sophisticated, modern organic take on fall foliage that balances natural forest greenery with delicate metallic shimmer.

    • Materials: Mason jars, dried pressed fern leaves, metal leaf adhesive (size), imitation gold leaf sheets, clear sealant spray.
    • How to Craft: Adhere pressed autumn-hued fern fronds to the jar using clear adhesive. Around the edges of the ferns, dab small specks of gold leaf sizing and gently brush on flakes of gold leaf for an antique, gilded look. Finish with a light coat of clear matte sealant.

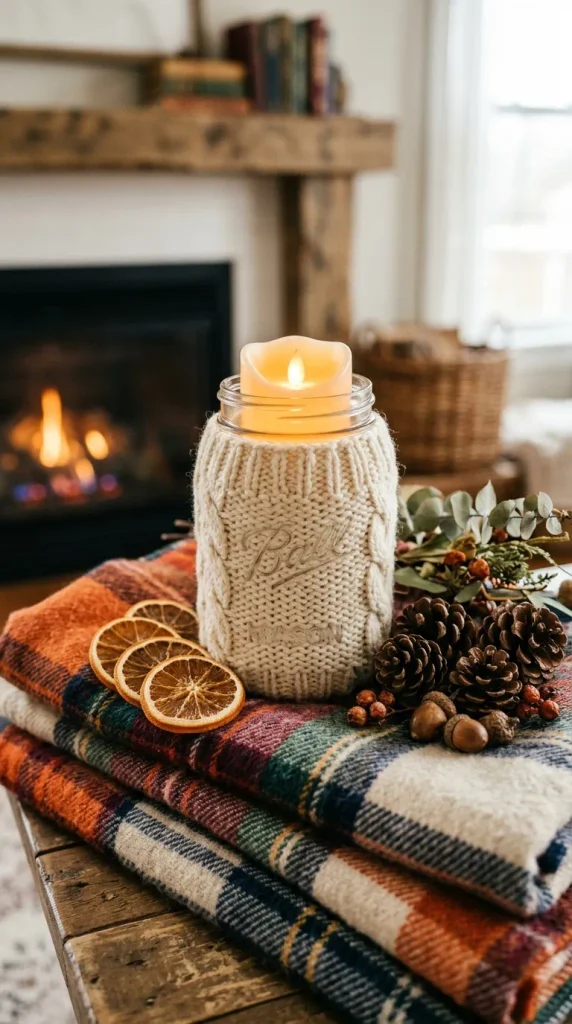
    10. Cozy Cable Knit Sweater Sleeve Luminary

    Upcycle worn-out thrift store sweaters into charming, textured candle sleeves that embody pure autumn warmth.

    • Materials: Mason jars, old cable knit sweater sleeves (cream, rust, or mustard), fabric scissors, hot glue gun, LED flameless pillar candle.
    • How to Craft: Cut a 4-to-5-inch section from the wrist or forearm of an old textured sweater sleeve. Slide the sleeve over the base of the mason jar. Fold the raw cut edges under the bottom base of the jar and secure them with hot glue dots. Use only LED flameless candles with fabric wraps for complete fire safety.
  • 10 Creative Cut and Craft Ideas

    10 Creative Cut and Craft Ideas

    In a world dominated by digital screens, there is something incredibly satisfying about working with your hands. Crafting isn’t just a great way to pass the time; it is a therapeutic activity that reduces stress, boosts brain productivity, and allows you to create personalized decor or gifts.

    Whether you are a seasoned crafter looking for fresh inspiration or a beginner picking up a pair of scissors for the first time, these 10 unique “cut and craft” ideas will help you unlock your inner artist. Grab your cutting mats, scissors, and glue—let’s get crafting!

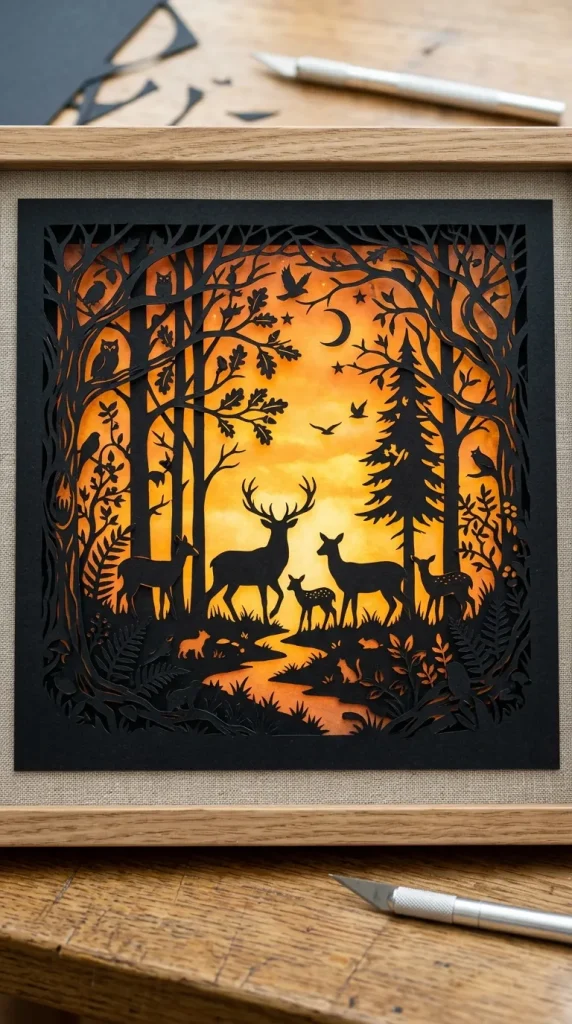
    1. Intricate Papercut Silhouette Art

    Papercutting is an ancient art form that requires minimal supplies but yields breathtaking results. By cutting away negative space from a single sheet of paper, you can create stunning silhouettes of landscapes, animals, or portraits.

    • Materials Needed: Black cardstock, a sharp precision craft knife, a cutting mat, and a bright background paper.
    • How-to Tip: Always start cutting from the smallest, most intricate details in the center and work your way outward. This keeps the paper structurally sound while you handle it.

    2. Upscaled Cardboard Geometric Wall Panels

    Don’t throw away your delivery boxes! You can transform standard corrugated cardboard into modern, 3D geometric wall art that looks like high-end boutique decor.

    • Materials Needed: Cardboard boxes, a utility knife, a ruler, hot glue, and textured metallic paint.
    • How-to Tip: Cut matching geometric shapes (like triangles or hexagons), layer them on top of each other using small cardboard spacers to create depth, and spray paint them in matte black, gold, or terracotta.

    3. Pressed Flower and Leaf Layered Bookmarks

    Bring a piece of nature indoors with beautiful, transparent bookmarks. This craft combines the gentle art of foraging with simple cutting and laminating techniques.

    • Materials Needed: Dried pressed flowers, clear contact paper or laminating sheets, scissors, a hole punch, and a ribbon.
    • How-to Tip: Arrange your dried flora on one side of the sticky contact paper, seal it with the second sheet, press firmly to remove air bubbles, and carefully cut out your desired bookmark shapes.

    4. Repurposed Denim Patchwork Tote Bags

    If you have old jeans that no longer fit or are too worn out to donate, turn them into a stylish, durable tote bag. Denim is incredibly sturdy and perfect for upcycling projects.

    • Materials Needed: Old denim jeans, fabric scissors, fabric glue or a sewing kit, and pins.
    • How-to Tip: Cut the denim into uniform squares or rectangles. Arrange them in an eye-catching patchwork pattern before joining them together to form the front and back panels of your new bag.

    5. Shadow Box Paper Dioramas

    Create a miniature, multi-layered world inside a picture frame. By cutting distinct foreground, midground, and background layers, you build a beautiful 3D illusion.

    • Materials Needed: A deep shadow box frame, white cardstock, foam spacer tape, and small LED fairy lights.
    • How-to Tip: Cut out layers depicting a scene—like a forest with deer or a cozy city skyline. Use foam tape between each layer to separate them, and hide fairy lights at the back to make the entire scene glow.

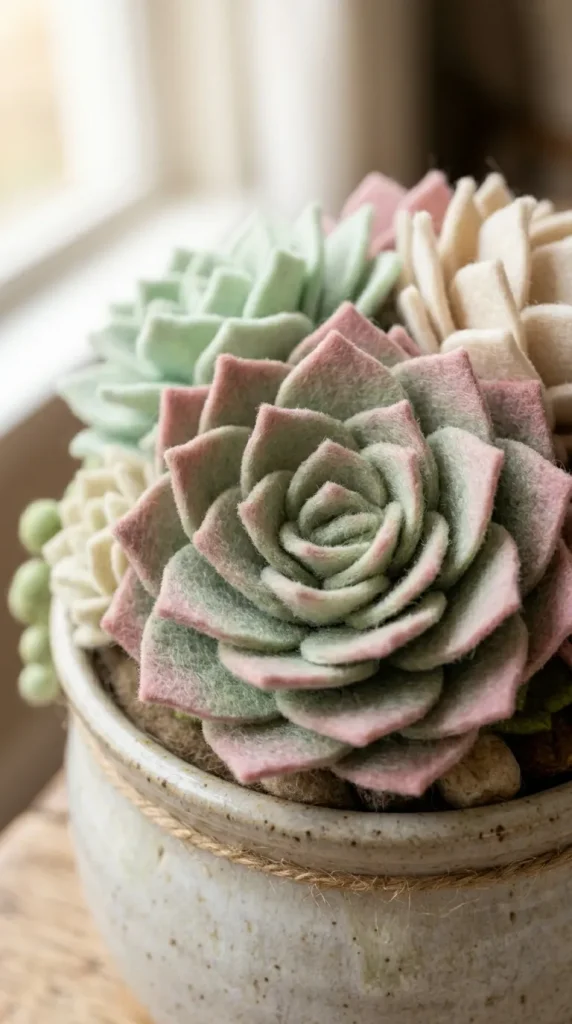
    6. Felt Succulent and Floral Arrangements

    Real plants can be tricky to keep alive, but felt succulents look gorgeous forever. Felt is a forgiving material to cut because it doesn’t fray at the edges.

    • Materials Needed: Craft felt sheets (in shades of green, pink, and cream), sharp fabric scissors, hot glue, and a small ceramic pot.
    • How-to Tip: Cut teardrop-shaped pieces of felt in graduating sizes. Roll the smallest piece tightly to form the center bud, then glue the larger petals around it, overlapping them slightly until a plump succulent forms.

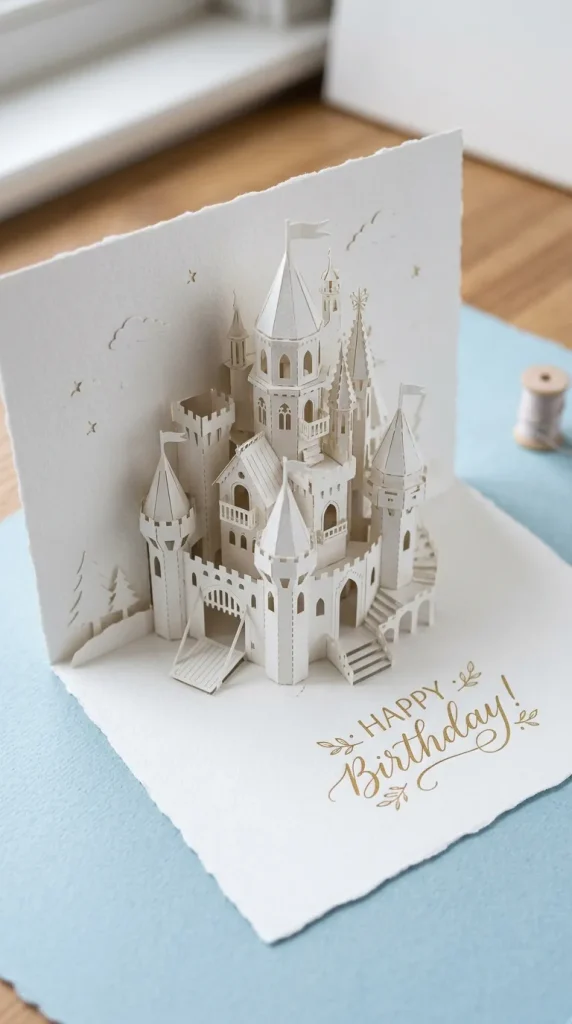
    7. Pop-Up Architectural Greeting Cards

    Elevate your gift-giving with a handmade card that leaps to life when opened. Pop-up cards rely on precise parallel cuts and strategic folding.

    • Materials Needed: Two contrasting colors of heavy-weight paper, a craft knife, and a scoring tool.
    • How-to Tip: Draw your design on the inner card. Make horizontal cuts for the steps or structures, then gently use a scoring tool to invert the folds so they push forward when the card opens.

    8. Vinyl Decal Mug Customization

    Personalized mugs make fantastic gifts. Using adhesive vinyl sheets, you can cut out custom quotes, minimalist shapes, or intricate monogram letters to completely revamp plain ceramic ware.

    • Materials Needed: Plain ceramic mugs, permanent adhesive vinyl sheets, a craft knife or cutting plotter, and transfer tape.
    • How-to Tip: Clean the mug thoroughly with rubbing alcohol before applying your cut vinyl. This removes oily fingerprints and ensures the adhesive bonds perfectly to the ceramic.

    9. Mosaic Coasters from Broken Ceramics

    Turn shattered plates, tiles, or old CDs into beautiful, reflective drink coasters. This craft uses a “cut and piece” method to form intricate patterns out of fragments.

    • Materials Needed: Plain wooden coaster blanks, mosaic nippers (or heavy-duty cutters), old colorful plates, mosaic grout, and glue.
    • How-to Tip: Carefully cut your ceramic pieces into small, irregular shards. Arrange them like a puzzle on the wooden base, glue them down, let them dry, and fill the gaps with grout for a smooth finish.

    10. Woven Paper Basketry

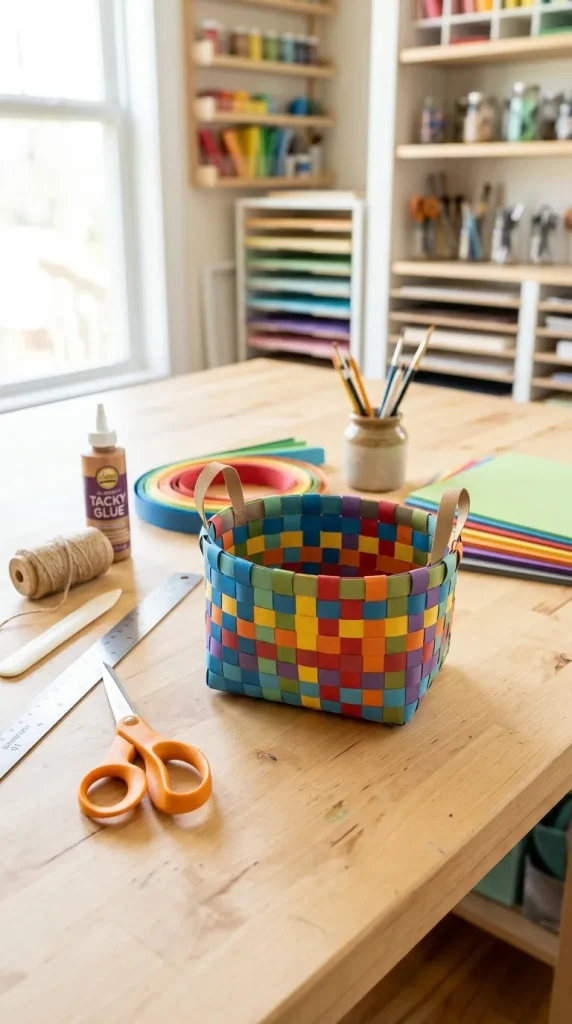
    You can create functional, lovely storage baskets using nothing but strips of colored construction paper or old magazine pages.

    • Materials Needed: Heavy construction paper, scissors, double-sided tape, and paper clips.
    • How-to Tip: Cut the paper into long, uniform strips about one inch wide. Fold each strip in half lengthwise to give it extra strength, then use a classic under-over weaving technique to build the base and walls of your basket.

    Crafter’s Safety Note: Always use a self-healing cutting mat to protect your furniture, and keep your fingers clear of the cutting path when working with precision knives or heavy utility cutters.

  • 10 Creative Art and Craft Ideas

    10 Creative Art and Craft Ideas

    In today’s fast-paced digital world, taking a break to create something with your hands is one of the most therapeutic things you can do. Whether you are looking to declutter your mind, decorate your home on a budget, or find a fun weekend project to do with family, arts and crafts offer the perfect escape.

    The best part? You don’t need to be a professional artist to start. With a few basic supplies and a dash of curiosity, anyone can create stunning, functional pieces of art.

    If you are looking for fresh inspiration, here are 10 unique art and craft ideas to unlock your inner artist.

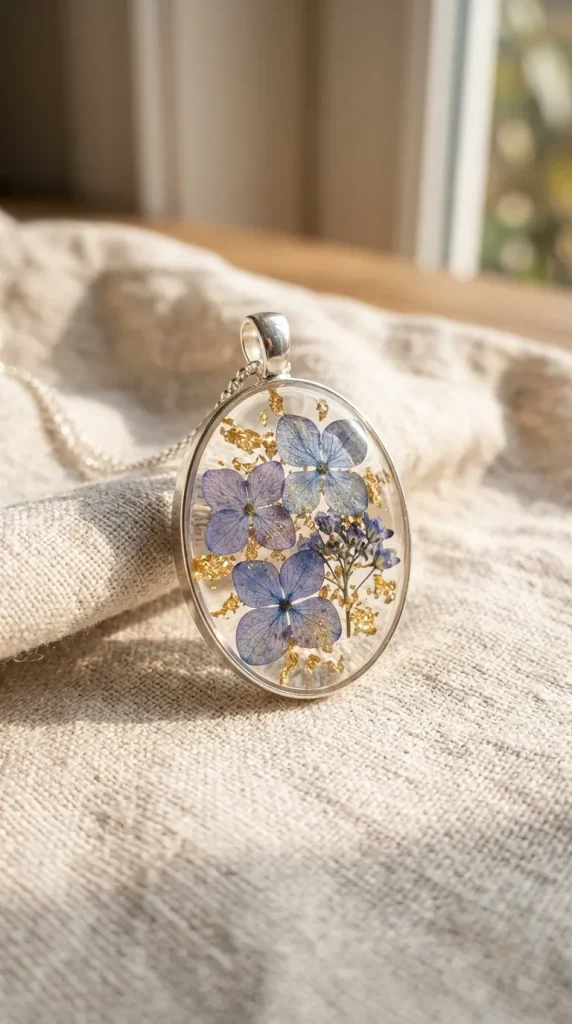
    1. Pressed Flower Resin Jewelry

    Bringing a piece of nature with you wherever you go is easy with resin jewelry. By embedding dried, pressed flowers into clear epoxy resin, you can create timeless necklaces, rings, and earrings.

    • Supplies needed: Epoxy resin, silicone jewelry molds, dried flowers, and jewelry bezels.
    • Why try it: It’s a wonderful way to preserve sentimental flowers from weddings, anniversaries, or special bouquets.

    2. Macrame Wall Hangings

    The bohemian aesthetic is here to stay, and macrame is the ultimate way to achieve it. This craft involves knotting cords into beautiful, textured geometric patterns.

    • Supplies needed: Macrame cotton cord, a wooden dowel or a piece of driftwood, and scissors.
    • Why try it: Once you master the basic square knot, you can create massive, stunning wall art that adds instant warmth to any room.

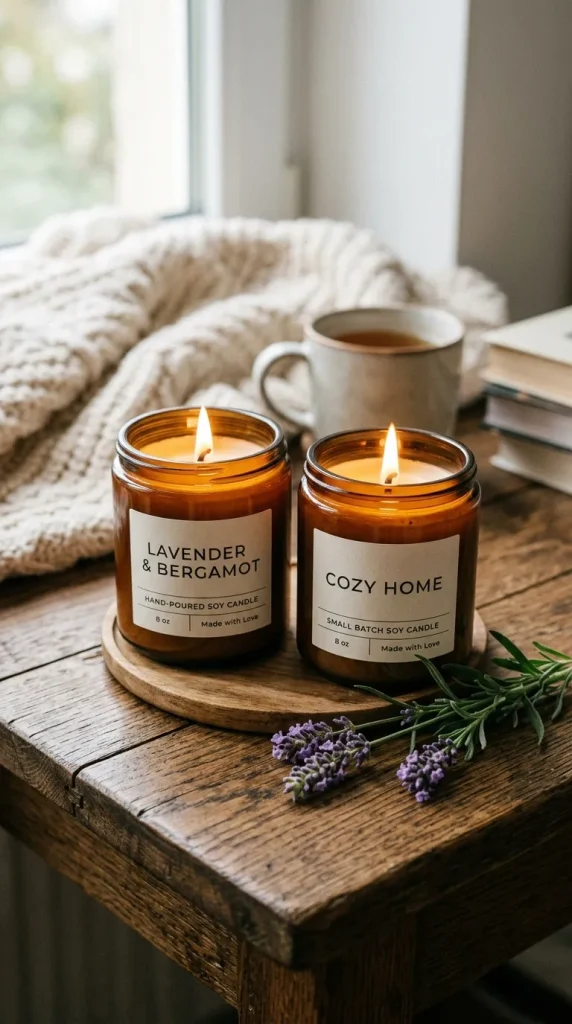
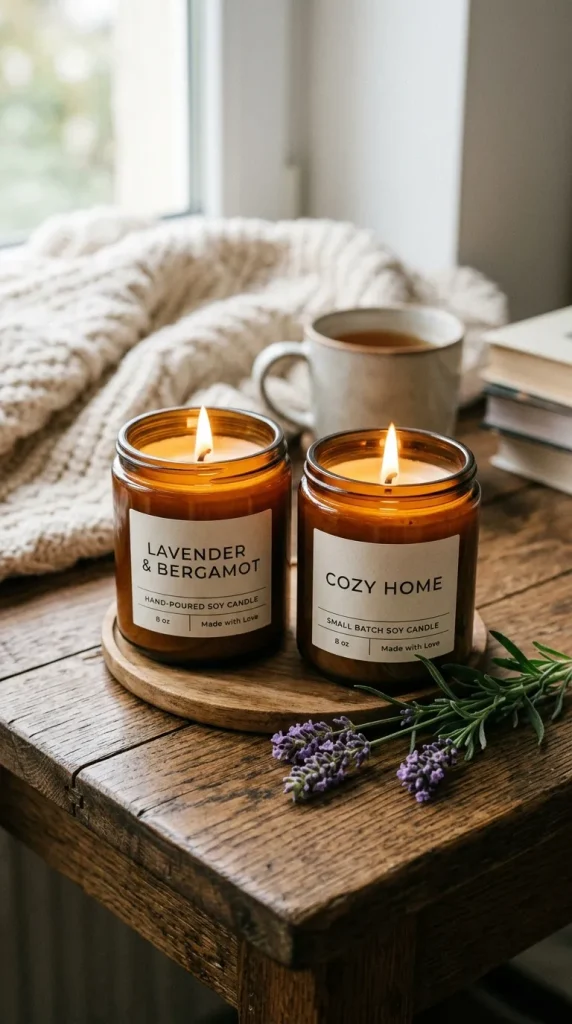
    3. Hand-Poured Soy Candles

    Why buy expensive luxury candles when you can make customized ones at home? Soy candles burn cleaner and longer than traditional paraffin wax, making them a favorite among crafters.

    • Supplies needed: Soy wax flakes, candle wicks, essential oils, and glass jars or vintage teacups.
    • Why try it: You can mix and match scents to create your signature fragrance, and they make incredible, personalized gifts.

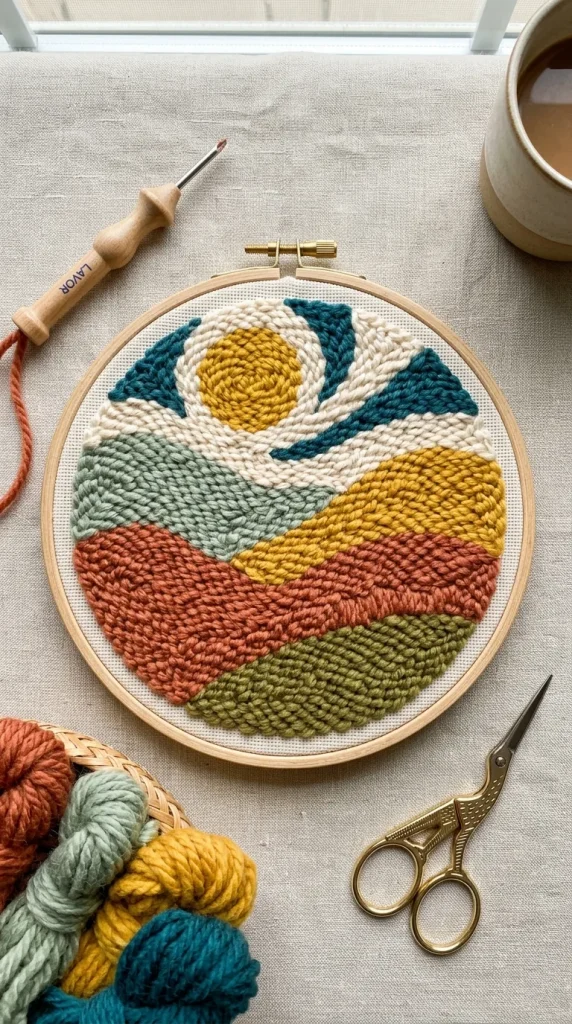
    4. Punch Needle Embroidery

    If traditional embroidery feels too slow or tedious, punch needle is the perfect alternative. It uses a hollow needle to loop yarn into fabric, creating a thick, rug-like texture.

    • Supplies needed: Punch needle tool, monks cloth, an embroidery hoop, and colorful yarn.
    • Why try it: It is incredibly fast, highly satisfying, and perfect for making cozy coasters, throw pillow covers, or textured wall art.

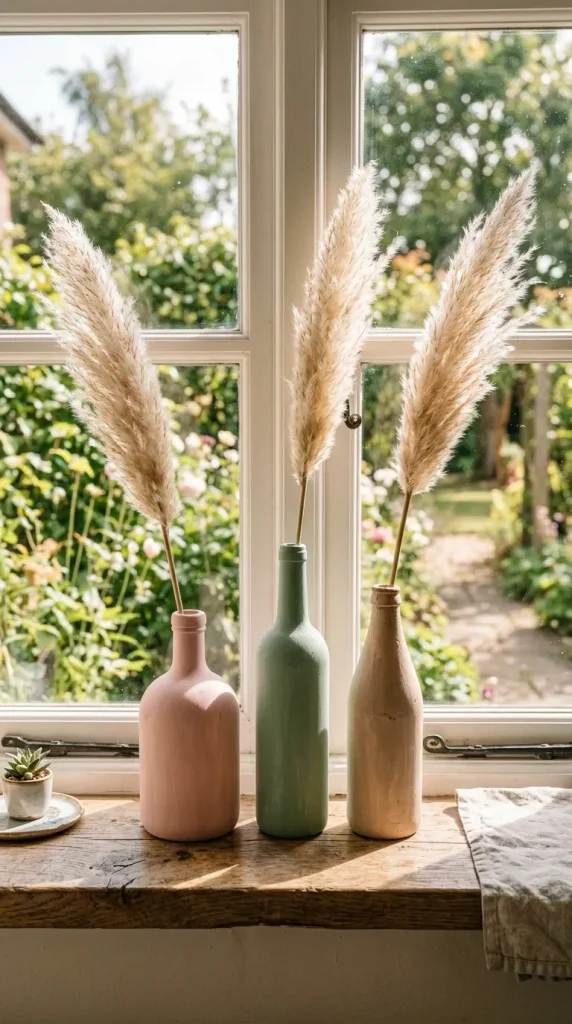
    5. Upcycled Glass Bottle Vases

    Instead of throwing away empty pasta sauce jars or glass beverage bottles, transform them into chic home decor. With a little paint or twine, trash becomes treasure.

    • Supplies needed: Empty glass bottles, acrylic paint or matte spray paint, and painter’s tape for clean lines.
    • Why try it: This is an eco-friendly craft that costs almost nothing but yields beautiful, modern minimalist vases.

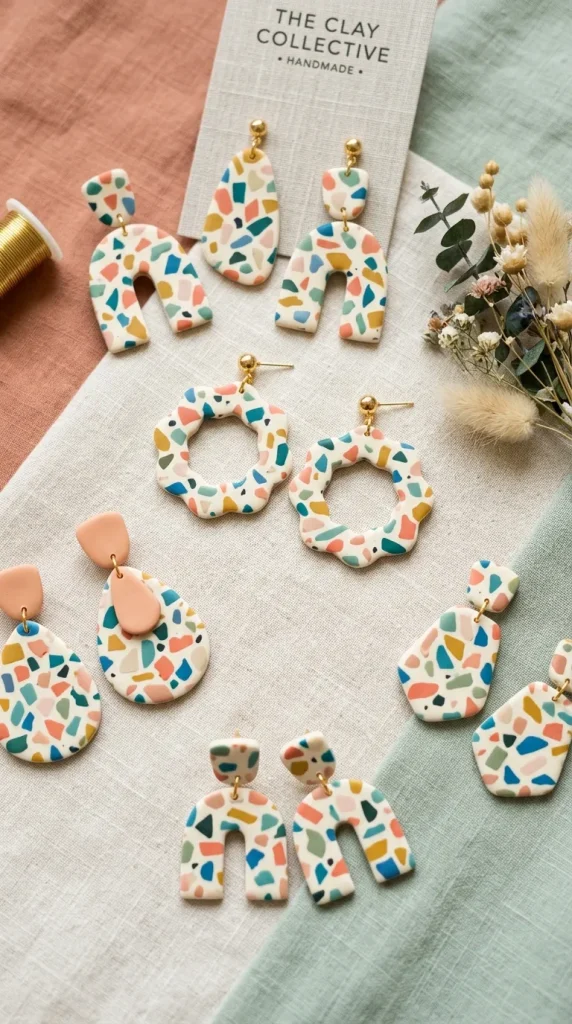
    6. Polymer Clay Earrings

    Polymer clay is a versatile medium that bakes hard in a standard home oven. Making statement earrings out of clay has exploded in popularity because the design possibilities are endless.

    • Supplies needed: Polymer clay (various colors), clay cutters, a rolling pin, and earring posts.
    • Why try it: You can experiment with marbling effects, terrazzo patterns, and unique shapes to create lightweight, fashionable jewelry.

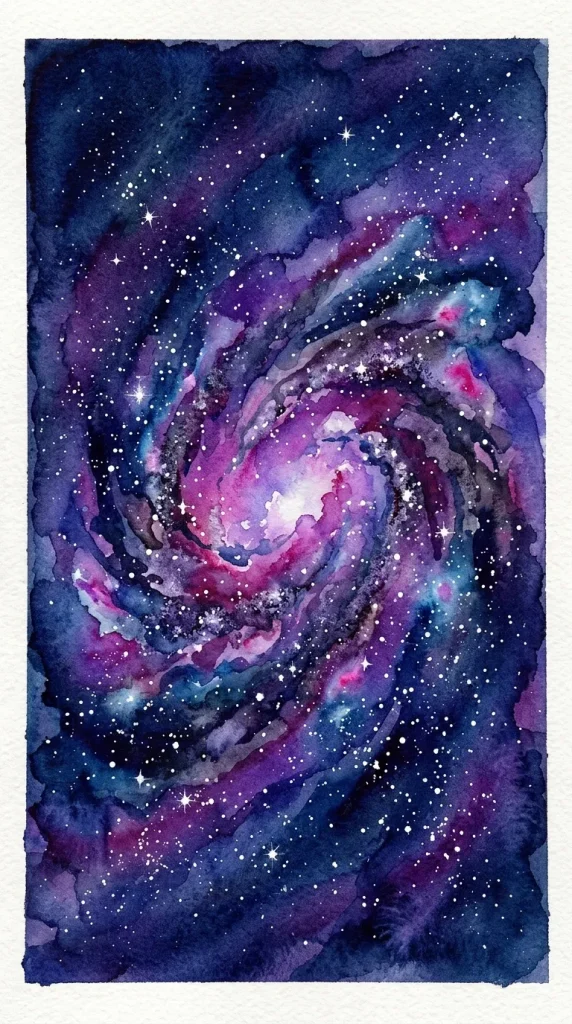
    7. Watercolor Galaxy Art

    Watercolors are famously unpredictable, but that’s exactly what makes them perfect for painting deep space and galaxies. Layering rich blues, purples, and blacks creates a dreamy, cosmic effect.

    • Supplies needed: Watercolor paper, watercolor paints, a paintbrush, and white acrylic paint for the stars.
    • Why try it: Splattering white paint off the bristles of a toothbrush to create a field of stars is deeply satisfying and requires no advanced drawing skills.

    8. DIY Terrazzo Coasters using Jesmonite

    Jesmonite (an eco-friendly alternative to concrete and resin) is perfect for creating trendy terrazzo homeware. By mixing broken, colored chips into a white base, you get a beautiful faux-stone finish.

    • Supplies needed: Jesmonite liquid and powder, pigment liquids, and silicone coaster molds.
    • Why try it: It cures incredibly fast (usually under an hour) and gives a smooth, high-end, professional satin finish.

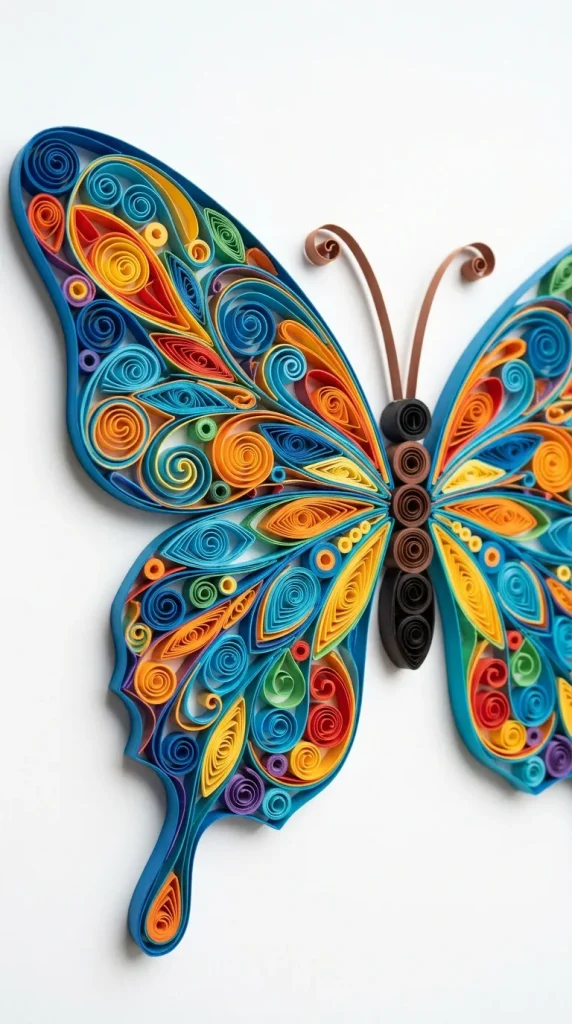
    9. Paper Quilling Art

    Paper quilling is the art of rolling, shaping, and gluing narrow strips of paper together to create intricate 3D designs. From flowers to typography, quilling adds incredible depth to paper crafts.

    • Supplies needed: Quilling paper strips, a slotted quilling tool, and craft glue.
    • Why try it: It is a low-cost, highly meditative craft that rewards patience with breathtakingly delicate designs.

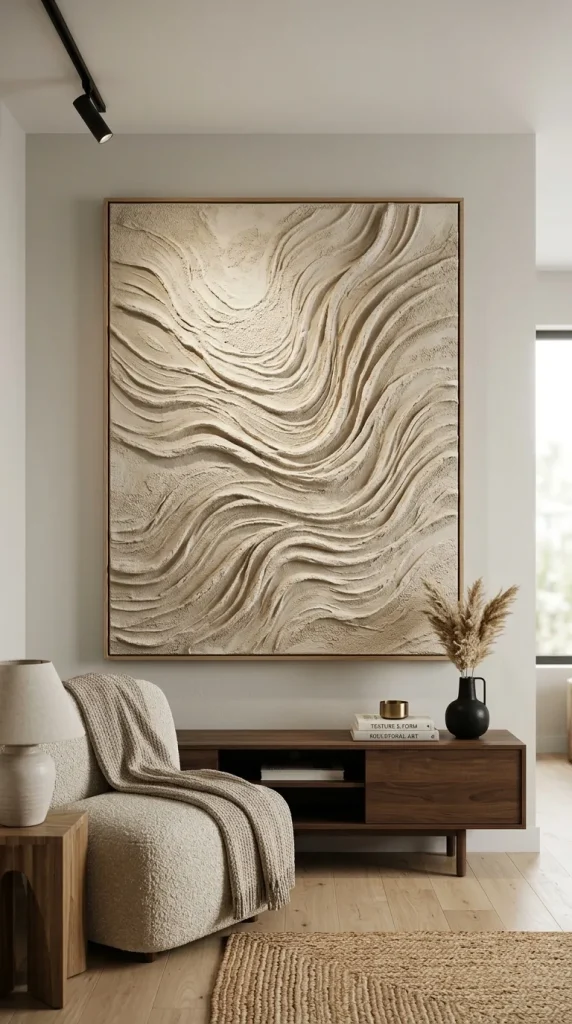
    10. Textured Canvas Art (Plaster Art)

    If you want large-scale, modern art for your living room without spending a fortune, textured canvas art is the answer. Using joint compound or plaster, you can create minimalist 3D waves and lines on a blank canvas.

    • Supplies needed: Stretched canvas, joint compound (plaster), and a notched trowel or comb.
    • Why try it: It is incredibly forgiving—if you don’t like the texture, you can scrape it flat and start over while it’s wet. Once dry, paint it a solid color for a high-end gallery look.

    Conclusion

    Crafting isn’t just about the final product; it’s about the joy of the process. Whether you choose the cozy textures of macrame or the sleek finish of polymer clay, taking time to create something unique is a rewarding experience. Pick one idea from this list, gather your supplies, and let your creativity flow!