
In a world dominated by digital screens, there is something incredibly satisfying about working with your hands. Crafting isn’t just a great way to pass the time; it is a therapeutic activity that reduces stress, boosts brain productivity, and allows you to create personalized decor or gifts.
Whether you are a seasoned crafter looking for fresh inspiration or a beginner picking up a pair of scissors for the first time, these 10 unique “cut and craft” ideas will help you unlock your inner artist. Grab your cutting mats, scissors, and glue—let’s get crafting!
1. Intricate Papercut Silhouette Art
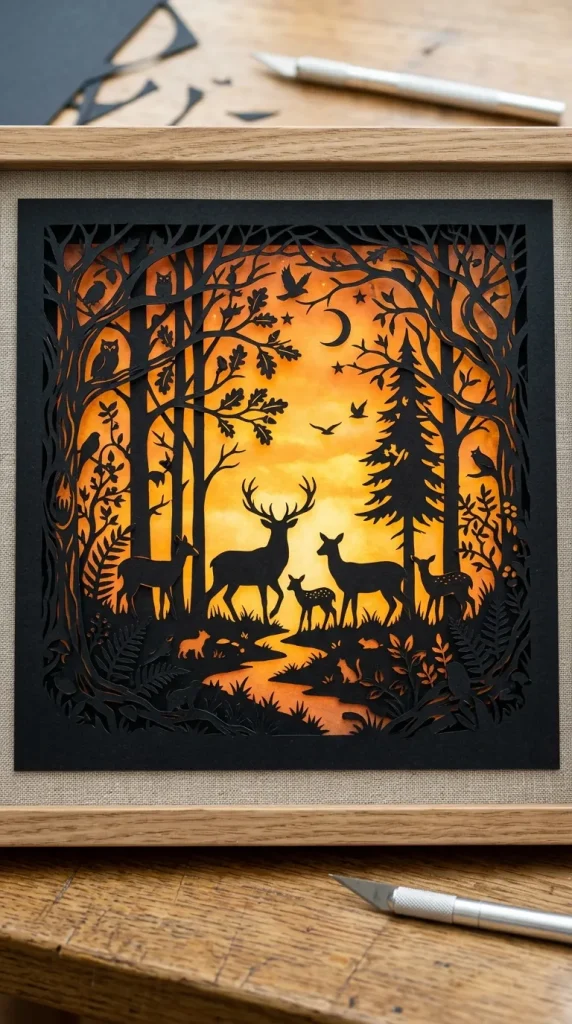
Papercutting is an ancient art form that requires minimal supplies but yields breathtaking results. By cutting away negative space from a single sheet of paper, you can create stunning silhouettes of landscapes, animals, or portraits.
- Materials Needed: Black cardstock, a sharp precision craft knife, a cutting mat, and a bright background paper.
- How-to Tip: Always start cutting from the smallest, most intricate details in the center and work your way outward. This keeps the paper structurally sound while you handle it.
2. Upscaled Cardboard Geometric Wall Panels
Don’t throw away your delivery boxes! You can transform standard corrugated cardboard into modern, 3D geometric wall art that looks like high-end boutique decor.
- Materials Needed: Cardboard boxes, a utility knife, a ruler, hot glue, and textured metallic paint.
- How-to Tip: Cut matching geometric shapes (like triangles or hexagons), layer them on top of each other using small cardboard spacers to create depth, and spray paint them in matte black, gold, or terracotta.

3. Pressed Flower and Leaf Layered Bookmarks
Bring a piece of nature indoors with beautiful, transparent bookmarks. This craft combines the gentle art of foraging with simple cutting and laminating techniques.
- Materials Needed: Dried pressed flowers, clear contact paper or laminating sheets, scissors, a hole punch, and a ribbon.
- How-to Tip: Arrange your dried flora on one side of the sticky contact paper, seal it with the second sheet, press firmly to remove air bubbles, and carefully cut out your desired bookmark shapes.

4. Repurposed Denim Patchwork Tote Bags
If you have old jeans that no longer fit or are too worn out to donate, turn them into a stylish, durable tote bag. Denim is incredibly sturdy and perfect for upcycling projects.
- Materials Needed: Old denim jeans, fabric scissors, fabric glue or a sewing kit, and pins.
- How-to Tip: Cut the denim into uniform squares or rectangles. Arrange them in an eye-catching patchwork pattern before joining them together to form the front and back panels of your new bag.

5. Shadow Box Paper Dioramas
Create a miniature, multi-layered world inside a picture frame. By cutting distinct foreground, midground, and background layers, you build a beautiful 3D illusion.
- Materials Needed: A deep shadow box frame, white cardstock, foam spacer tape, and small LED fairy lights.
- How-to Tip: Cut out layers depicting a scene—like a forest with deer or a cozy city skyline. Use foam tape between each layer to separate them, and hide fairy lights at the back to make the entire scene glow.

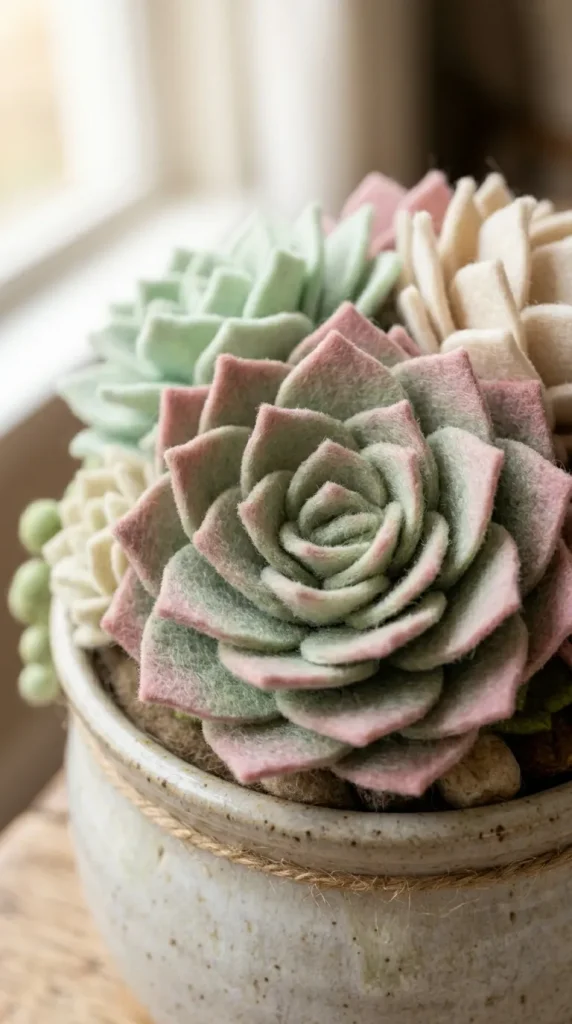
6. Felt Succulent and Floral Arrangements
Real plants can be tricky to keep alive, but felt succulents look gorgeous forever. Felt is a forgiving material to cut because it doesn’t fray at the edges.
- Materials Needed: Craft felt sheets (in shades of green, pink, and cream), sharp fabric scissors, hot glue, and a small ceramic pot.
- How-to Tip: Cut teardrop-shaped pieces of felt in graduating sizes. Roll the smallest piece tightly to form the center bud, then glue the larger petals around it, overlapping them slightly until a plump succulent forms.
7. Pop-Up Architectural Greeting Cards
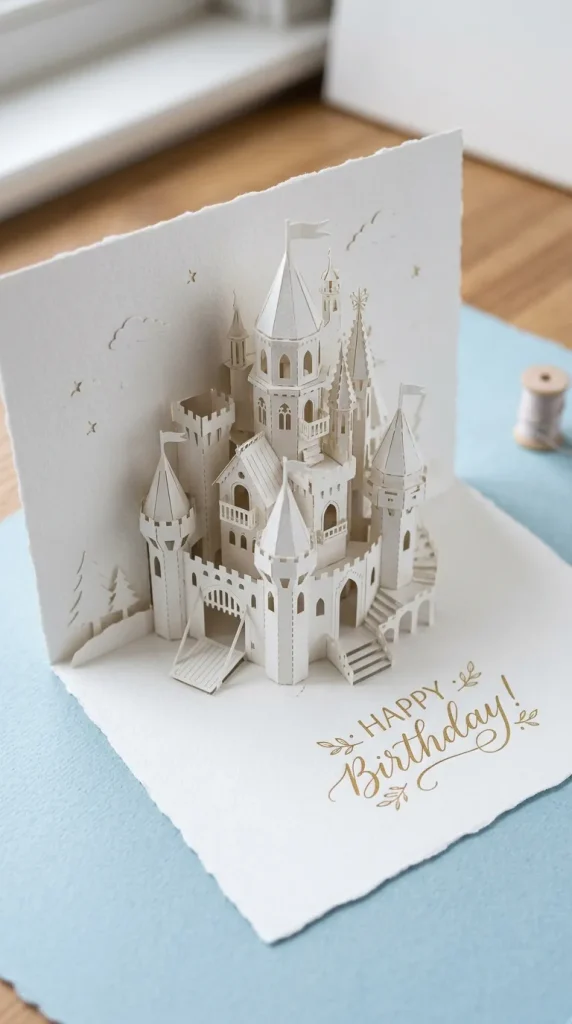
Elevate your gift-giving with a handmade card that leaps to life when opened. Pop-up cards rely on precise parallel cuts and strategic folding.
- Materials Needed: Two contrasting colors of heavy-weight paper, a craft knife, and a scoring tool.
- How-to Tip: Draw your design on the inner card. Make horizontal cuts for the steps or structures, then gently use a scoring tool to invert the folds so they push forward when the card opens.
8. Vinyl Decal Mug Customization
Personalized mugs make fantastic gifts. Using adhesive vinyl sheets, you can cut out custom quotes, minimalist shapes, or intricate monogram letters to completely revamp plain ceramic ware.
- Materials Needed: Plain ceramic mugs, permanent adhesive vinyl sheets, a craft knife or cutting plotter, and transfer tape.
- How-to Tip: Clean the mug thoroughly with rubbing alcohol before applying your cut vinyl. This removes oily fingerprints and ensures the adhesive bonds perfectly to the ceramic.

9. Mosaic Coasters from Broken Ceramics
Turn shattered plates, tiles, or old CDs into beautiful, reflective drink coasters. This craft uses a “cut and piece” method to form intricate patterns out of fragments.
- Materials Needed: Plain wooden coaster blanks, mosaic nippers (or heavy-duty cutters), old colorful plates, mosaic grout, and glue.
- How-to Tip: Carefully cut your ceramic pieces into small, irregular shards. Arrange them like a puzzle on the wooden base, glue them down, let them dry, and fill the gaps with grout for a smooth finish.

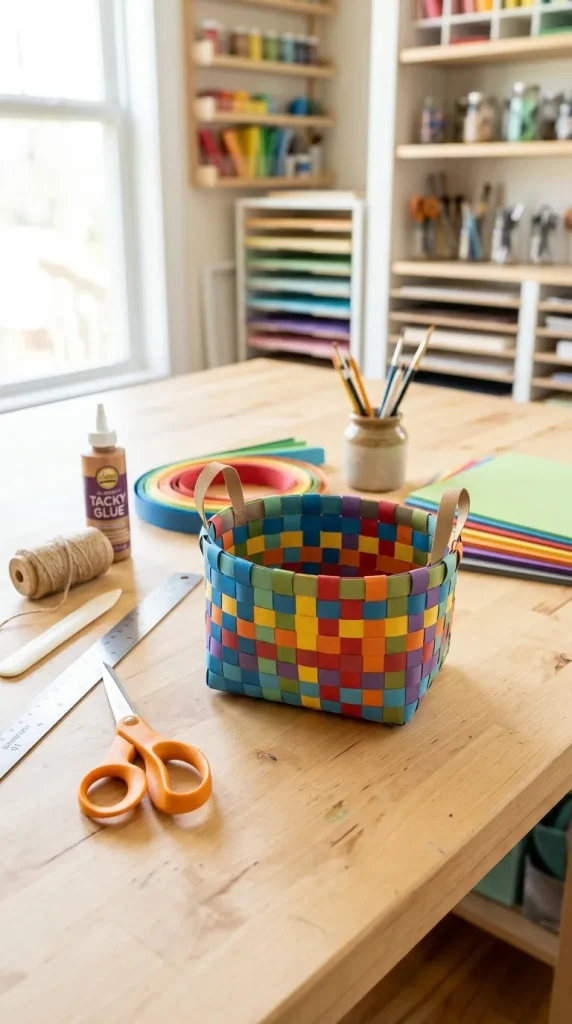
10. Woven Paper Basketry
You can create functional, lovely storage baskets using nothing but strips of colored construction paper or old magazine pages.
- Materials Needed: Heavy construction paper, scissors, double-sided tape, and paper clips.
- How-to Tip: Cut the paper into long, uniform strips about one inch wide. Fold each strip in half lengthwise to give it extra strength, then use a classic under-over weaving technique to build the base and walls of your basket.
Crafter’s Safety Note: Always use a self-healing cutting mat to protect your furniture, and keep your fingers clear of the cutting path when working with precision knives or heavy utility cutters.
Leave a Reply