Blog

  • 10 Latest Nail Art Designs Ideas

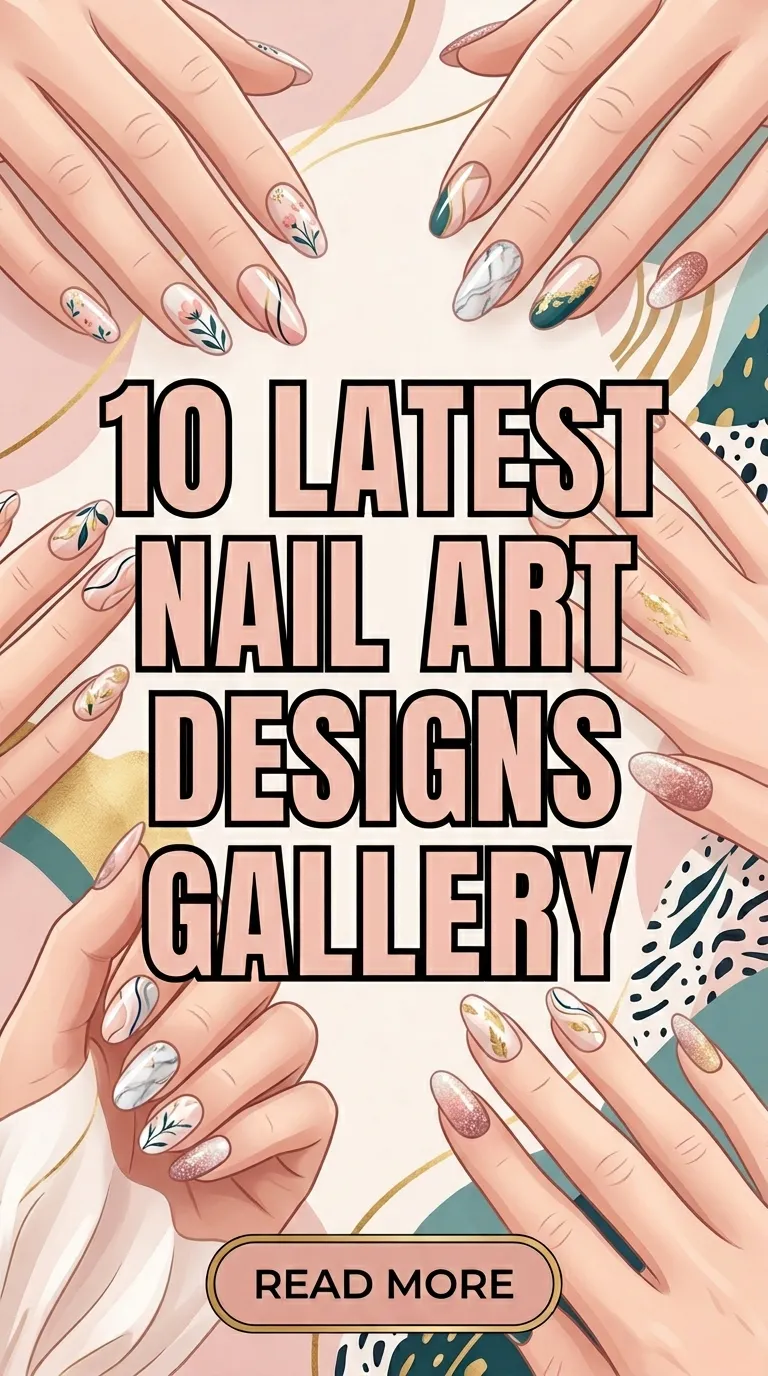
    10 Latest Nail Art Designs Ideas

    In the world of beauty, your hands do the talking. If you are looking to refresh your style, your fingertips are the best place to start. Nail art has officially evolved from basic paint jobs into wearable modern art.

    Whether you love an understated nude look or want high-shine drama, this curated gallery of the 10 latest nail art designs will give you all the inspiration you need for your next salon visit.

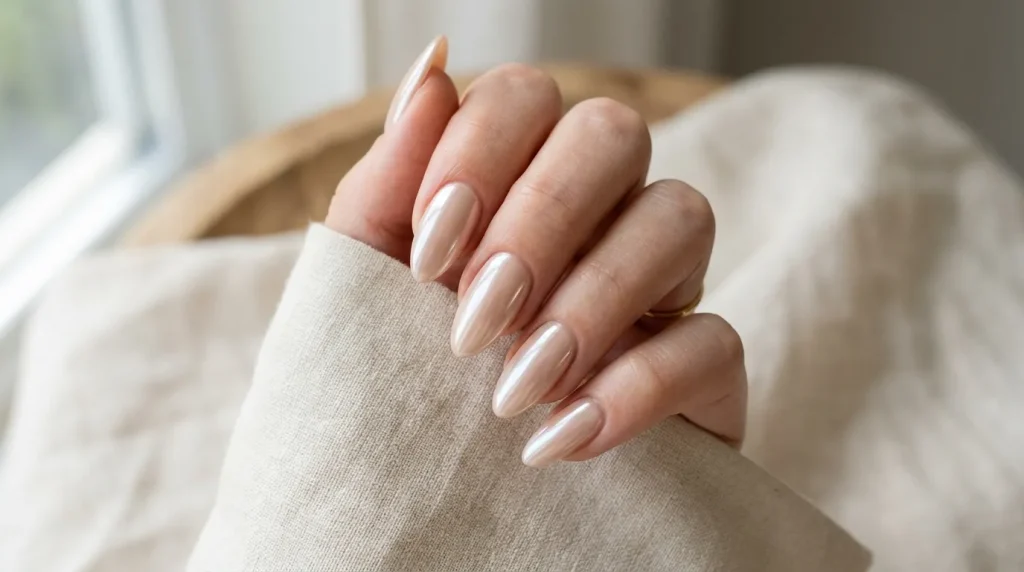
    1. Neutral Chrome (The Liquid Silk Look)

    The absolute biggest standout this year is the pairing of soft, neutral base coats with ultra-fine chrome dust. Instead of the blinding, robotic silver metallics of the past, this style focuses on sheer nudes, milky beiges, and soft blush tones topped with a pearlescent glaze. It mimics the sheen of liquid silk or fine pearls.

    • Why it works: It visually elongates the fingers and looks incredibly clean under natural sunlight.
    • Best for: Office wear, wedding guests, and lovers of minimal luxury.
    2. Micro French Tips (The Ultra-Fine Upgrade)

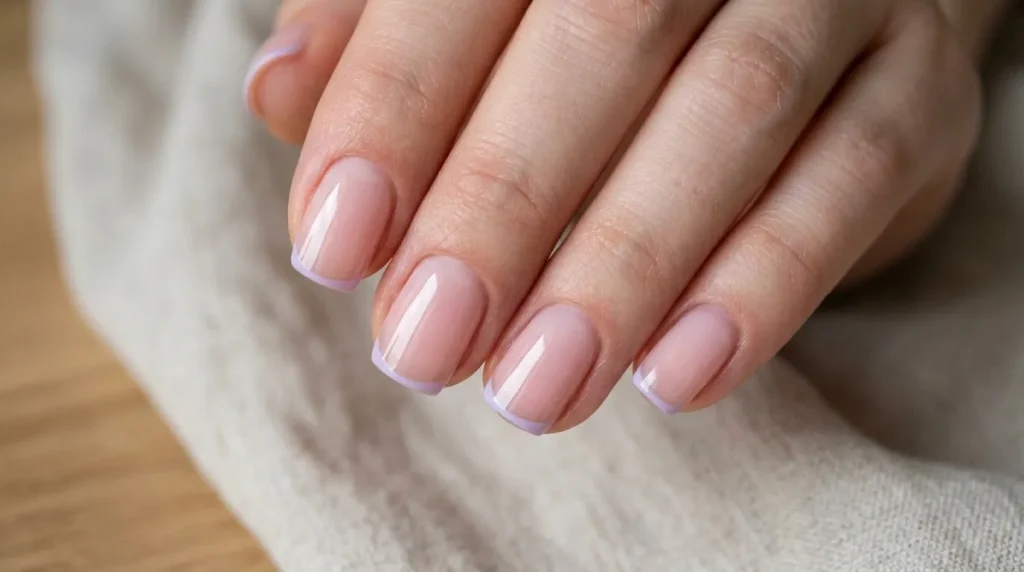
    The classic French manicure has received a major downsizing. Micro French tips feature an incredibly thin line at the absolute edge of the nail—often less than a millimeter wide. Instead of the traditional harsh white, fashion insiders are opting for pastel colors, neon accents, or even deep blacks for the tip.

    • Why it works: It works perfectly on short, square, or active-length nails.
    • Best for: A low-maintenance look that grows out seamlessly without looking obvious.
    3. Velvet Cat Eye (The Magnetic Depth Effect)

    Using specialized magnetic gel polishes, nail technicians are creating a plush, multidimensional texture that resembles crushed velvet fabric. As your fingers move, the light catches the metallic particles trapped inside the gel, creating a mesmerizing, shifting depth.

    • Why it works: It adds rich, three-dimensional movement without any physical texture or bumps on the nail surface.
    • Best for: Evening parties, winter styling, or date nights.

    4. Pool-Glazed Aquatic Nails (The Summer Sensation)

    Inspired by the way bright sunlight ripples across a clear swimming pool, this trend uses a sheer, sea-glass blue or soft turquoise base covered with an iridescent, color-shifting aurora powder. It gives a refreshing, wet-look finish that feels aquatic and breezy.

    • Why it works: It brings a cheerful pop of color while staying sophisticated and translucent.
    • Best for: Beach vacations and hot summer days.

    5. Minimalist Abstract Line Art (Wearable Modernism)

    For artistic souls, fine-line abstract art over naked bases is the ultimate choice. This design relies on precise, ultra-thin swirls, geometric intersections, or abstract silhouettes painted in single contrasting colors like jet black, crisp white, or rich gold leaf over matte or high-gloss nude nails.

    • Why it works: Every single nail feels like an individual canvas, keeping the overall vibe highly professional yet creative.
    • Best for: Creatives, artists, and lovers of contemporary fashion.

    6. Butter Yellow Minimalist Florals (The Soft Joy Trend)

    Butter yellow is reigning supreme as the happiest shade of the year. Paired with micro-floral accents—like tiny hand-painted daisies or singular minimal tulips at the base of the cuticle—this design is romantic, optimistic, and highly wearable.

    • Why it works: The creamy yellow adds a subtle warmth to the skin without being too loud or flashy like neon yellow.
    • Best for: Springtime gatherings, brunch dates, and casual daily wear.

    7. Translucent Jelly & Soap Nails (The Clean Girl Aesthetic)

    If you want your nails to look incredibly healthy, glossy, and fresh out of the shower, “Soap Nails” are your go-to. This technique uses highly diluted, translucent jelly polishes in pink, soft peach, or lilac shades, finished with a double layer of high-shine topcoat to mimic gummy candies or wet soap.

    • Why it works: It emphasizes nail health and looks incredibly plump and juicy.
    • Best for: Minimalists who prefer a “your nails but better” look.

    8. Chrome Aura Blends (The Ethereal Glow)

    Aura nails are staying firmly in style but with a glowing twist. Instead of flat airbrushed colors, the center radiating circle is now blended using shifting chrome colors. Picture a soft milky base with a glowing pink or lavender chrome center that looks like a beautiful celestial cloud.

    • Why it works: The seamless gradient provides a futuristic, spiritual, and high-fashion edge.
    • Best for: Concerts, festival seasons, and making a unique style statement.

    9. Pearl & Stone Accents (The Demi-Jewelry Trend)

    Why wear rings when your nails can be the jewelry? This design takes a clean, high-gloss base—like milky white or sheer ivory—and punctuates it with tiny, flat-backed micro pearls or delicate silver studs placed intentionally near the cuticles.

    • Why it works: A single pearl on an accent nail acts like a subtle piece of jewelry, adding immediate elegance.
    • Best for: Formal galas, festive celebrations, or bridal manicures.

    10. Muted Tomato Red (The Euro-Summer Classic)

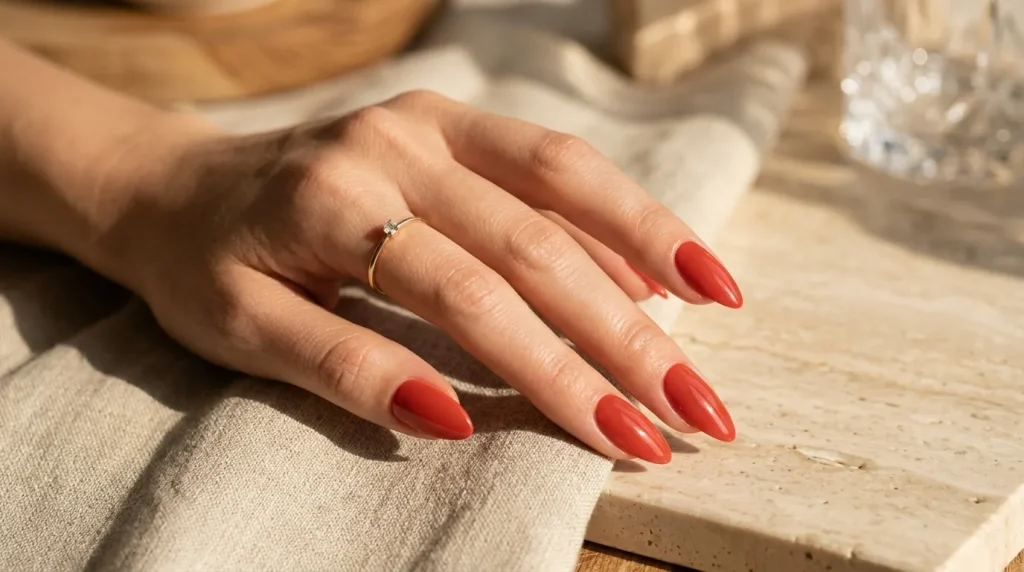
    Red never truly leaves the trend cycle, but this year it shifts away from dark oxbloods into a vibrant, sun-warmed tomato red. It is a bright, energetic crimson with slightly warm undertones that brings immediate life to your hands.

    • Why it works: It acts as a bold statement piece even when applied as a solid color without any extra art.
    • Best for: Making a confident statement, vacation travel, and pairing with linen outfits.
  • 10 Paper Flowers Bouquet Ideas

    10 Paper Flowers Bouquet Ideas

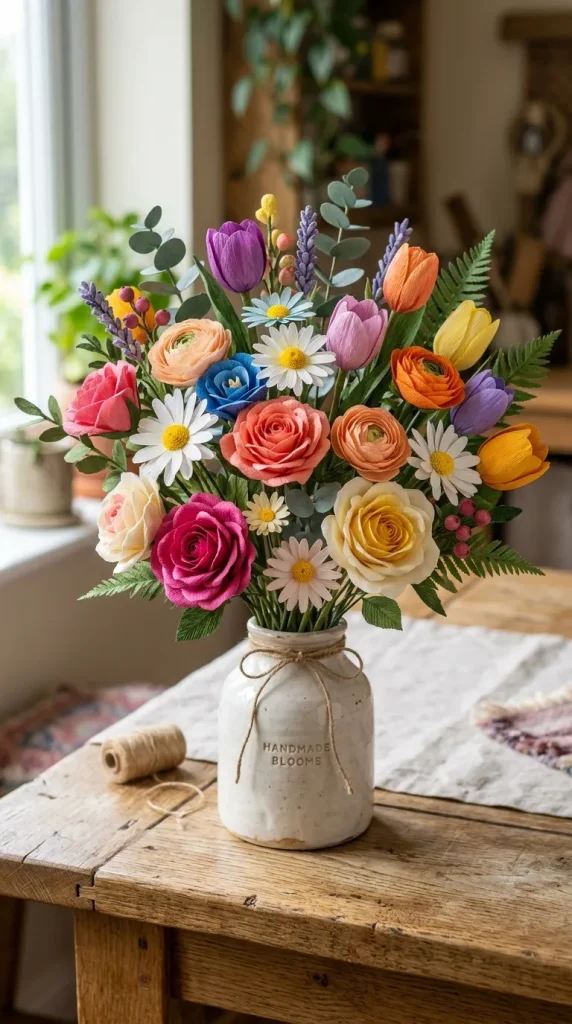
    Paper flowers have become one of the most popular DIY craft trends in recent years. They are beautiful, long-lasting, and highly customizable, making them a perfect alternative to fresh flowers. Whether you want to create a unique gift, decorate your home, or design something special for an event, paper flowers bouquet ideas offer endless creative possibilities.

    Unlike real flowers, paper flowers never wilt, fade, or require maintenance. They can be crafted in any color, size, or style, making them ideal for weddings, birthdays, anniversaries, and interior decoration. You can create realistic floral arrangements or experiment with artistic and abstract designs.

    Another great advantage of paper flower bouquets is that they are budget-friendly. With simple materials like colored paper, glue, scissors, and creativity, you can design stunning bouquets that look elegant and professional.

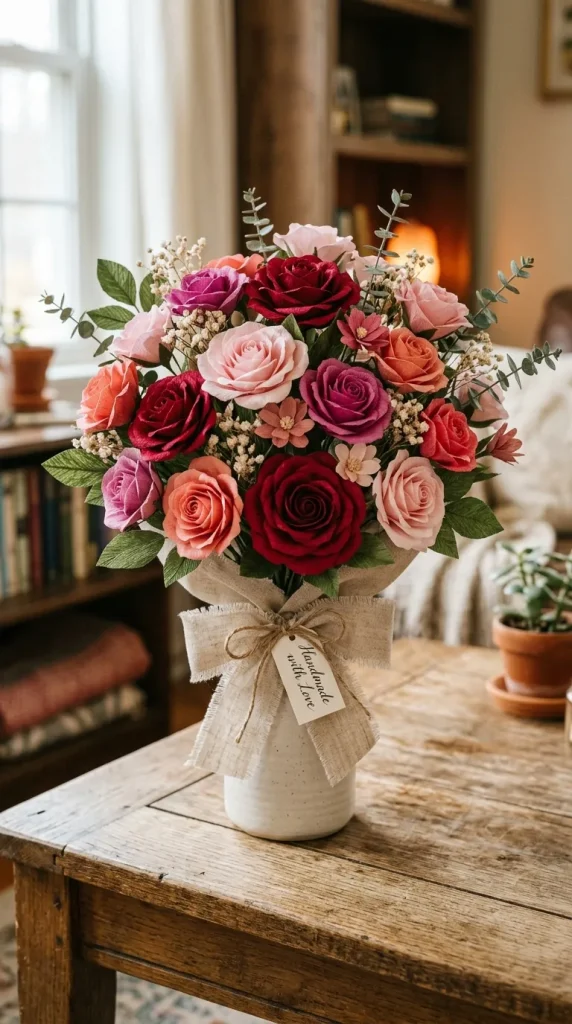
    1. Classic Rose Paper Bouquet

    The rose is one of the most iconic flowers, and a paper rose bouquet never goes out of style. It is romantic, elegant, and perfect for special occasions.

    How to Create

    Roll colored paper into spiral shapes and form them into roses. Attach them to sticks or wires and arrange them into a bouquet.

    Best For

    • Valentine’s Day gifts
    • Weddings
    • Romantic decorations

    Styling Tip

    Use red, pink, or white paper for a classic look.

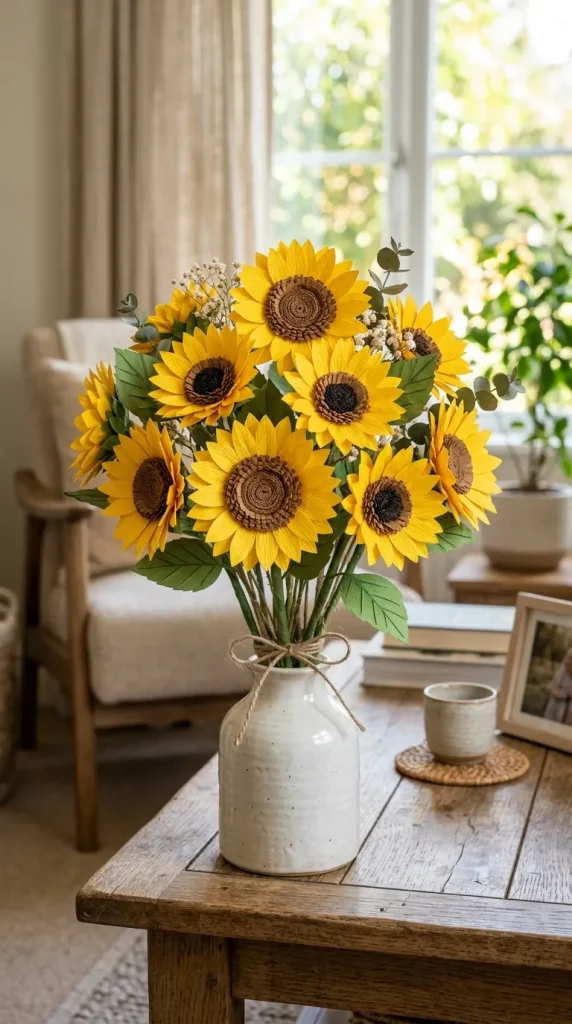
    2. Sunflower Paper Bouquet

    Sunflowers symbolize happiness and positivity. A sunflower paper bouquet can brighten any space.

    Design Idea

    Use yellow paper for petals and brown paper for the center. Arrange multiple sunflowers in a simple bouquet wrap.

    Why You’ll Love It

    • Bright and cheerful
    • Perfect for summer decor
    • Ideal for gifting

    3. Mixed Flower Paper Bouquet

    Instead of using one type of flower, combine different flowers in a single bouquet. This creates a natural and colorful arrangement.

    Examples

    • Roses + daisies
    • Tulips + lilies
    • Sunflowers + small filler flowers

    Best For

    • Home decoration
    • Gift bouquets
    • Event decor

    4. Minimalist Paper Flower Bouquet

    If you prefer a simple and modern look, a minimalist bouquet is a perfect choice.

    Design Idea

    Use only a few flowers with neutral colors like white, beige, or soft pink.

    Why It Works

    • Clean and elegant
    • Perfect for modern interiors
    • Easy to create

    5. Paper Tulip Bouquet

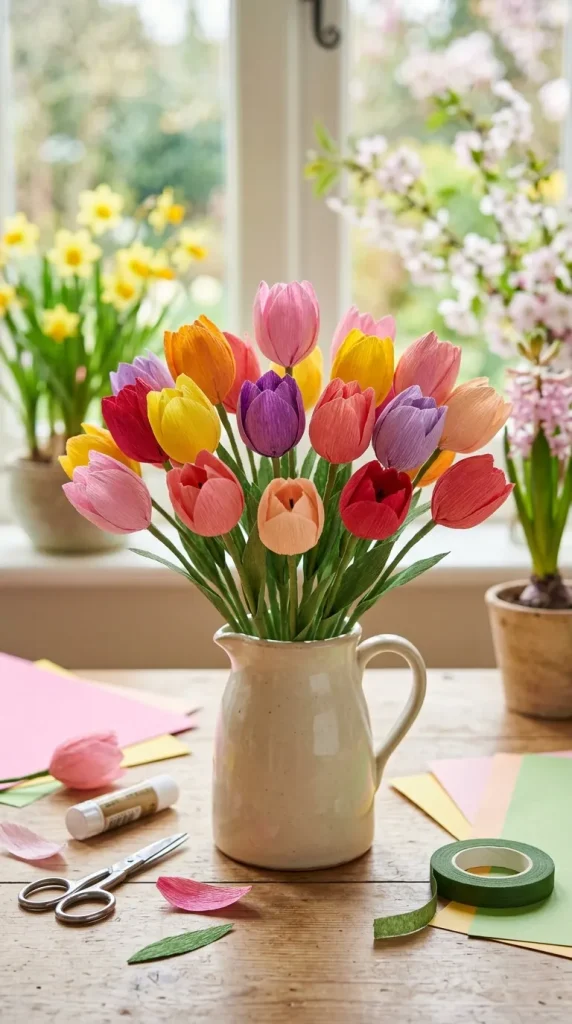
    Tulips are simple yet beautiful flowers. A paper tulip bouquet looks fresh and delicate.

    How to Make

    Fold paper into tulip shapes and attach them to green stems.

    Best For

    • Spring decor
    • Simple gifts
    • Beginner-friendly projects

    6. Giant Paper Flower Bouquet

    Giant paper flowers create a bold and dramatic effect. They are perfect for events and photography setups.

    Design Idea

    Use large sheets of paper to create oversized flowers and arrange them into a big bouquet.

    Why It’s Trending

    • Eye-catching
    • Perfect for decorations
    • Ideal for social media photos

    7. Pastel Paper Flower Bouquet

    Pastel colors create a soft and dreamy look. This bouquet style is perfect for elegant events.

    Color Ideas

    • Baby pink
    • Lavender
    • Mint green
    • Soft peach

    Best For

    • Weddings
    • Baby showers
    • Elegant home decor

    8. Origami Paper Flower Bouquet

    Origami flowers are made using folding techniques without cutting or gluing.

    Why It’s Unique

    • Artistic and precise
    • Great for creative crafters
    • Long-lasting design

    Best For

    • Handmade gifts
    • Craft enthusiasts

    9. Paper Daisy Bouquet

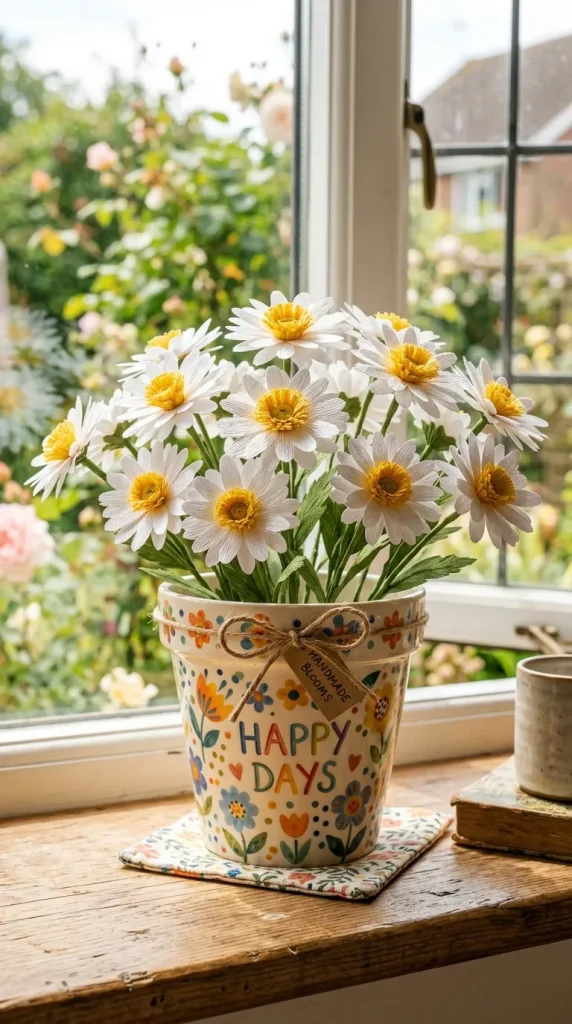
    Daisies are simple and charming flowers that symbolize innocence and happiness.

    How to Make

    Use white paper for petals and yellow paper for the center.

    Why You’ll Love It

    • Easy to create
    • Bright and cheerful
    • Perfect for beginners

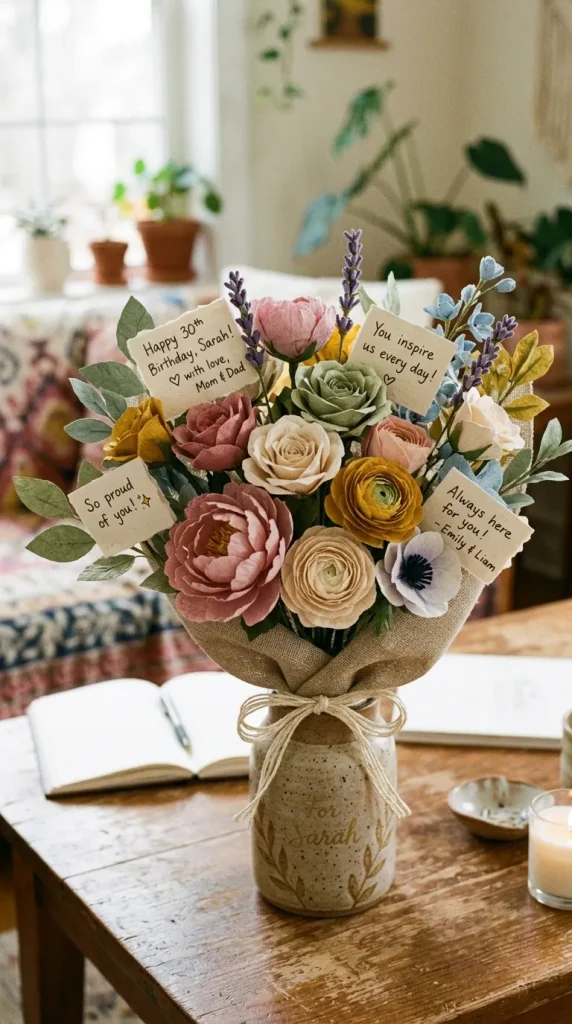
    10. Personalized Message Paper Bouquet

    Combine flowers with meaningful messages to create a unique gift.

    Design Idea

    Add small notes or messages to each flower in the bouquet.

    Best For

    • Birthdays
    • Anniversaries
    • Special occasions

    Benefits of Paper Flower Bouquets

    1. Long-Lasting

    Unlike real flowers, paper bouquets do not wilt.

    2. Budget-Friendly

    You can create beautiful designs with inexpensive materials.

    3. Customizable

    Choose colors, shapes, and sizes according to your preference.

    4. Eco-Friendly

    Use recycled paper for a sustainable option.

    5. Perfect for Gifts

    Handmade bouquets feel personal and meaningful.

    Materials Needed for DIY Paper Flower Bouquets

    • Colored paper or cardstock
    • Scissors
    • Glue or glue gun
    • Floral wire or sticks
    • Tape
    • Ribbon or wrapping paper

    These basic materials can help you create any type of paper bouquet.

    Tips for Making Beautiful Paper Flower Bouquet

    • Use high-quality paper for better results
    • Combine different flower styles for realism
    • Add greenery using green paper
    • Arrange flowers neatly for a balanced look
    • Use ribbons or wraps for finishing touches

    Best Occasions for Paper Flower Bouquets

    • Weddings
    • Birthdays
    • Anniversaries
    • Graduation celebrations
    • Home decoration
    • Festive events

    Paper flower bouquets are versatile and suitable for any occasion.

    Common Mistakes to Avoid

    • Using thin paper that tears easily
    • Overcrowding the bouquet
    • Ignoring color balance
    • Not securing flowers properly
    • Skipping finishing details

    Conclusion

    Paper flowers are a beautiful and creative alternative to real flowers. These 10 paper flowers bouquet ideas offer a variety of styles—from classic roses to modern minimalist arrangements.

    Whether you want a simple DIY project or a detailed design, paper bouquets allow you to express your creativity while creating something meaningful and long-lasting. They are affordable, customizable, and perfect for any occasion.

    Start with simple designs and gradually try more complex ideas. With practice, you can create stunning paper flower bouquets that look elegant, artistic, and unique.

  • 10 DIY NeeDoh Ideas

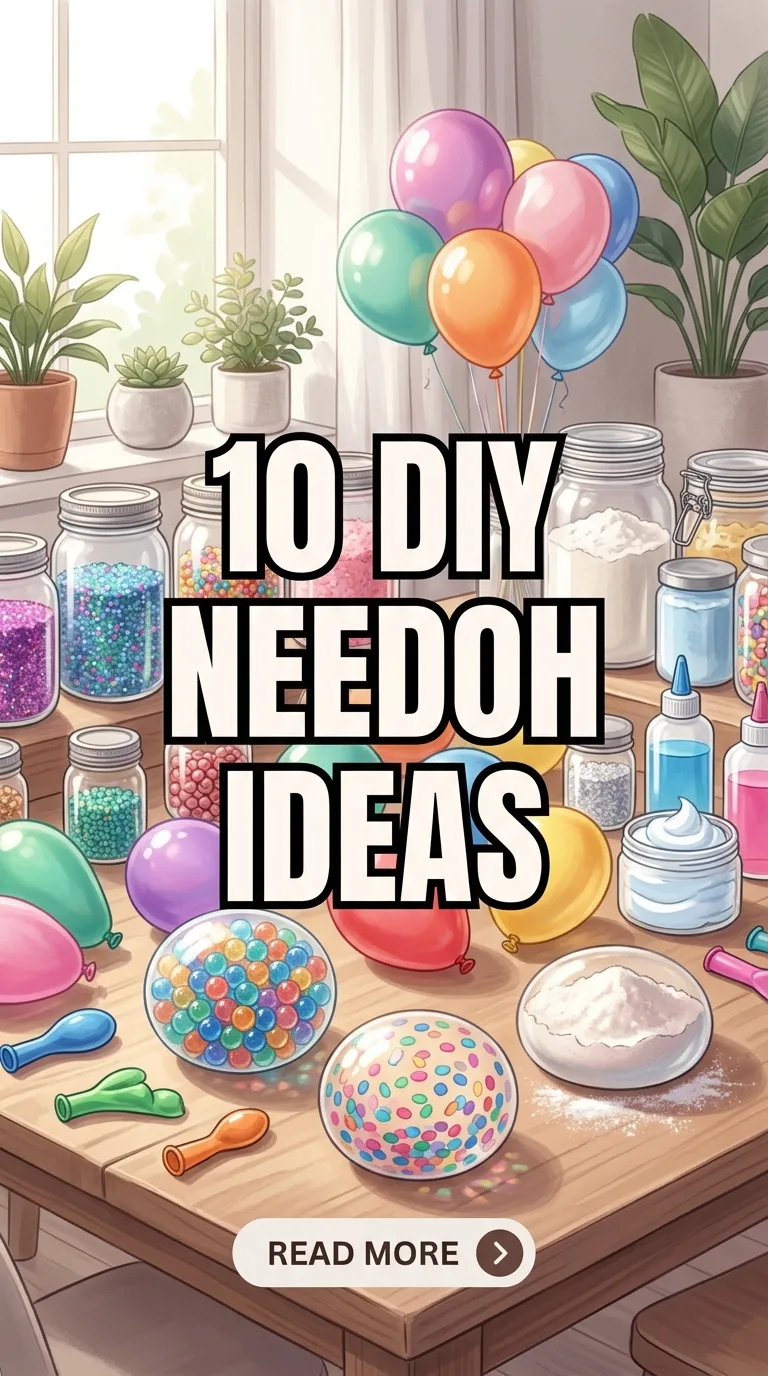
    10 DIY NeeDoh Ideas

    NeeDoh toys have become incredibly popular because of their satisfying squishy texture and stress-relieving benefits. Whether you’re a parent looking for engaging activities for your children, a teacher searching for sensory play ideas, or someone who simply enjoys DIY crafts, creating your own NeeDoh-inspired stress balls can be a fun and budget-friendly project.

    DIY NeeDoh ideas allow you to customize colors, textures, and themes while enjoying a creative hands-on experience. These homemade sensory toys can help reduce stress, improve focus, and provide endless entertainment for people of all ages.

    In this guide, we’ll explore 10 DIY NeeDoh ideas that are simple to create using common household materials. Let’s get started.

    Why DIY NeeDoh Projects Are So Popular

    Before diving into the ideas, it’s important to understand why DIY NeeDoh projects have gained so much attention.

    Benefits of DIY NeeDoh Crafts

    • Relieve stress and anxiety
    • Improve sensory development
    • Encourage creativity
    • Provide screen-free entertainment
    • Cost less than store-bought alternatives
    • Perfect for classroom activities
    • Great for party favors and gifts

    These benefits make DIY NeeDoh crafts an excellent choice for both children and adults.

    1. Classic Flour-Filled NeeDoh Ball

    The classic flour-filled stress ball is one of the easiest DIY NeeDoh ideas.
    Materials Needed

    • Balloon
    • Flour
    • Funnel
    • Spoon

    Instructions

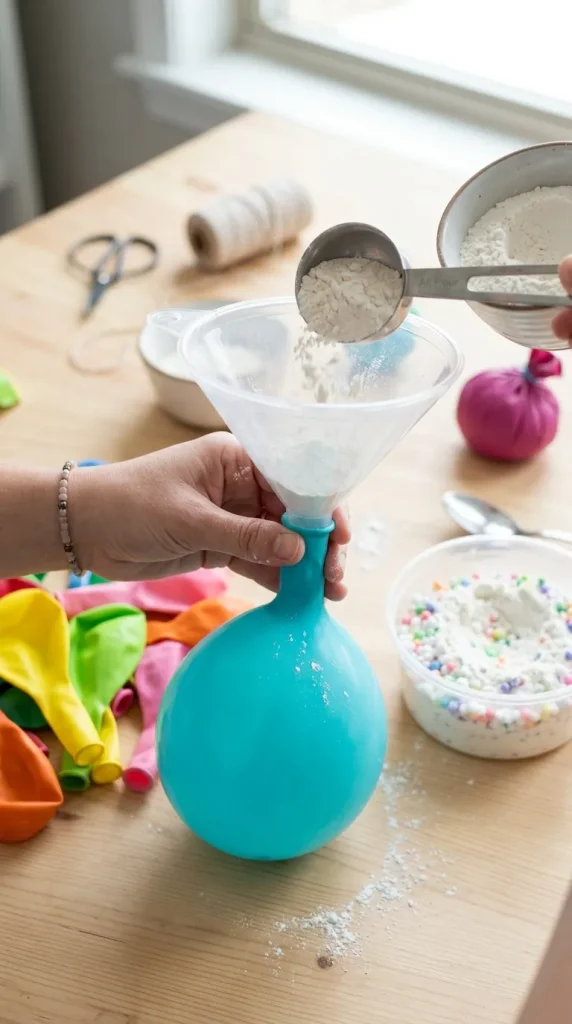
    1. Stretch the balloon.
    2. Insert the funnel into the balloon opening.
    3. Carefully fill it with flour.
    4. Tie the balloon securely.
    5. Add a second balloon layer for durability.

    Why It Works

    The flour creates a soft, squeezable texture that closely resembles popular NeeDoh toys.

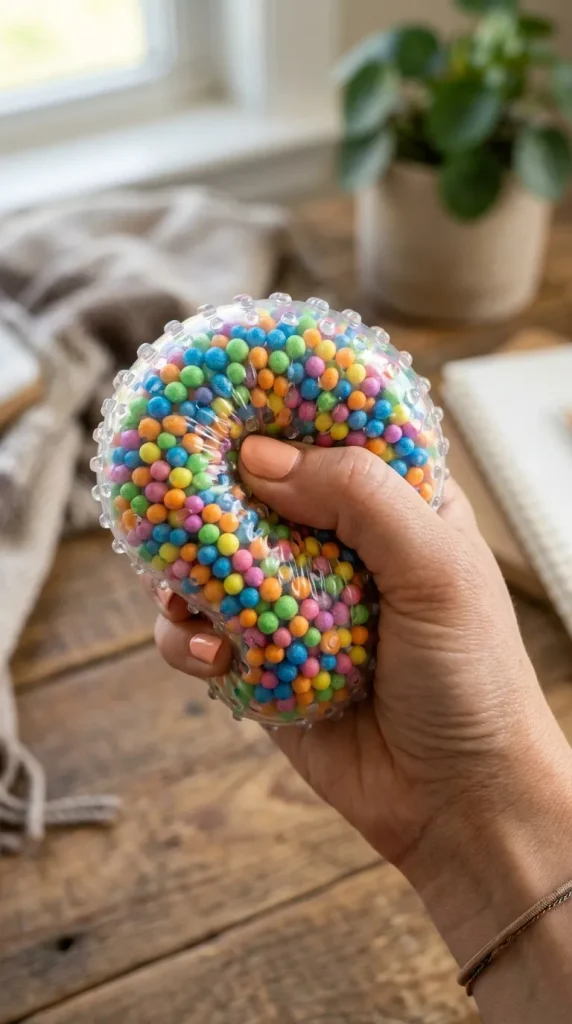
    2. Water Bead NeeDoh Sensory Ball

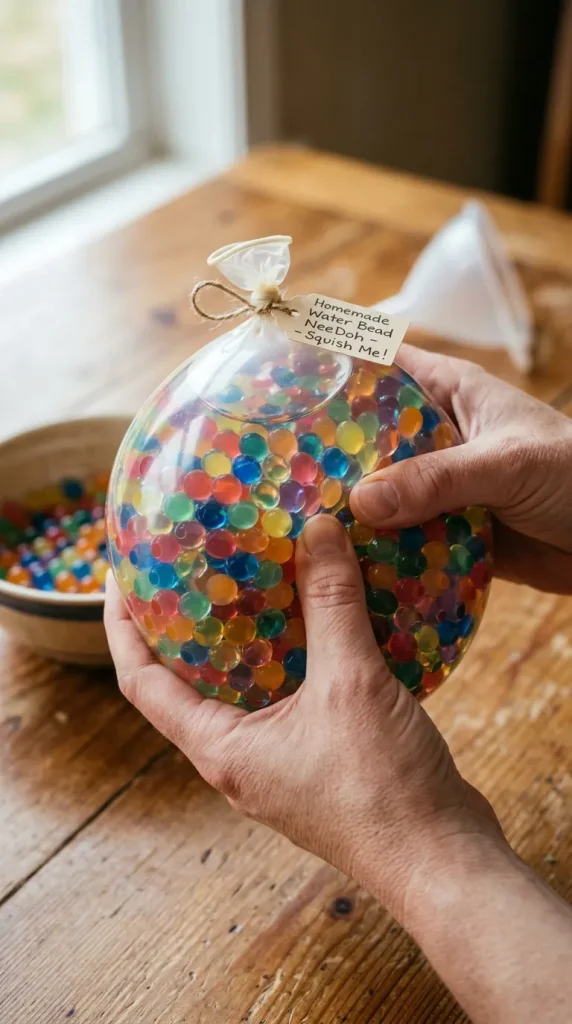
    Water beads create a unique squishy sensation and visual appeal.

    Materials Needed

    • Clear balloon
    • Water beads
    • Water
    • Funnel

    Instructions

    1. Soak water beads according to package instructions.
    2. Fill the balloon with hydrated beads.
    3. Add a small amount of water.
    4. Tie securely.

    Benefits

    • Provides sensory stimulation
    • Creates colorful visual effects
    • Encourages tactile exploration

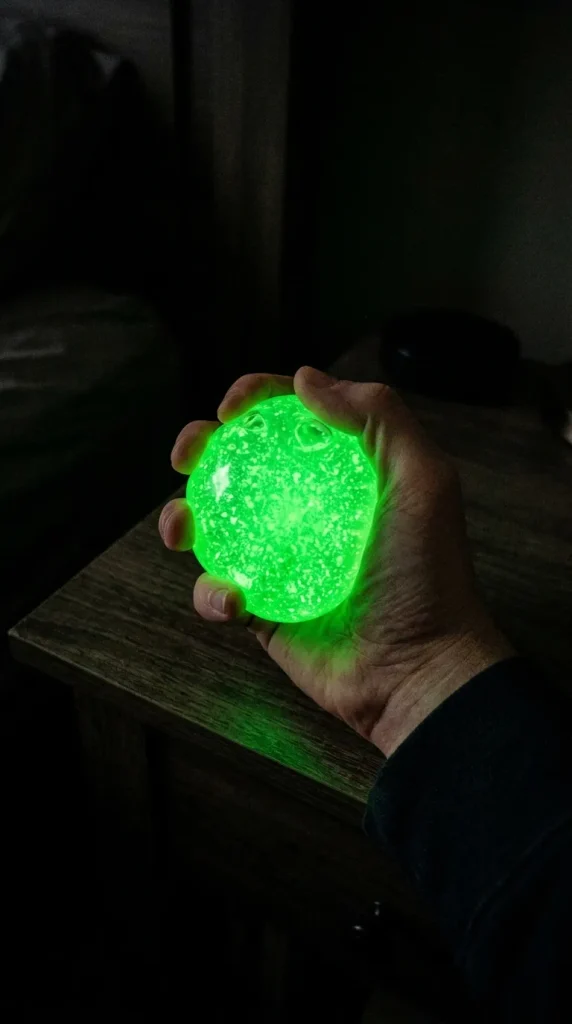
    3. Glow-in-the-Dark DIY NeeDoh

    This exciting version glows in dark environments.

    Materials Needed

    • Balloon
    • Flour
    • Glow-in-the-dark powder
    • Funnel

    Instructions

    1. Mix flour and glow powder.
    2. Fill the balloon.
    3. Tie tightly.
    4. Charge under light before use.

    Why Kids Love It

    The glowing effect adds excitement and makes it perfect for nighttime sensory play.

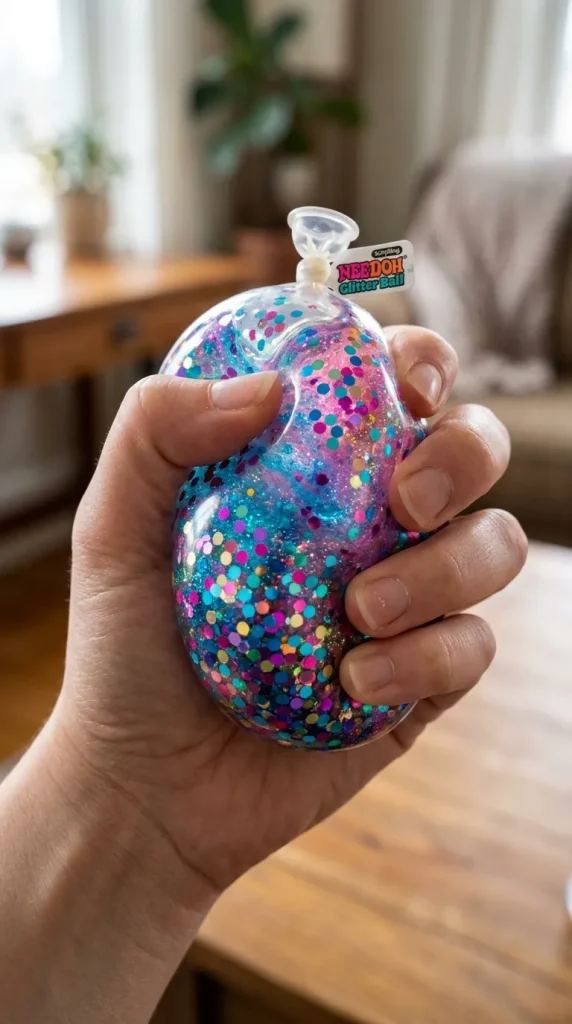
    4. Glitter NeeDoh Stress Ball

    Add sparkle to your DIY stress ball with glitter.

    Materials Needed

    • Clear balloon
    • Hair gel
    • Fine glitter
    • Funnel

    Instructions

    1. Mix hair gel with glitter.
    2. Fill the balloon.
    3. Remove air bubbles.
    4. Tie securely.

    Benefits

    The glitter creates a mesmerizing visual effect that can be calming and relaxing.

    5. Rainbow Layered NeeDoh Ball

    Create a colorful masterpiece with multiple layers.

    Materials Needed

    • Balloons
    • Colored flour
    • Funnel

    Instructions

    1. Divide flour into several bowls.
    2. Add different food coloring to each portion.
    3. Allow the flour to dry.
    4. Layer colors inside the balloon.

    Result

    A vibrant rainbow effect that looks beautiful when squeezed.

    6. Foam Bead NeeDoh Ball

    Foam beads provide a crunchy and satisfying texture.

    Materials Needed

    • Balloon
    • Foam beads
    • Hair gel

    Instructions

    1. Mix foam beads with hair gel.
    2. Insert mixture into balloon.
    3. Tie securely.

    Sensory Benefits

    This DIY NeeDoh offers both soft and textured sensations, making it highly engaging.

    7. Emoji-Themed NeeDoh

    Personalize your stress ball with fun emoji faces.

    Materials Needed

    • Yellow balloon
    • Marker
    • Flour or gel filling

    Instructions

    1. Fill the balloon.
    2. Draw emoji expressions.
    3. Create happy, sad, laughing, or surprised faces.

    Perfect For

    • School rewards
    • Party favors
    • Personalized gifts

    8. Scented DIY NeeDoh

    Combine stress relief with aromatherapy.

    Materials Needed

    • Balloon
    • Flour
    • Essential oils

    Instructions

    1. Add a few drops of essential oil to flour.
    2. Mix thoroughly.
    3. Fill balloon and tie.

    Popular Scents

    • Lavender
    • Lemon
    • Peppermint
    • Vanilla

    Benefits

    The pleasant fragrance can help create a calming experience.

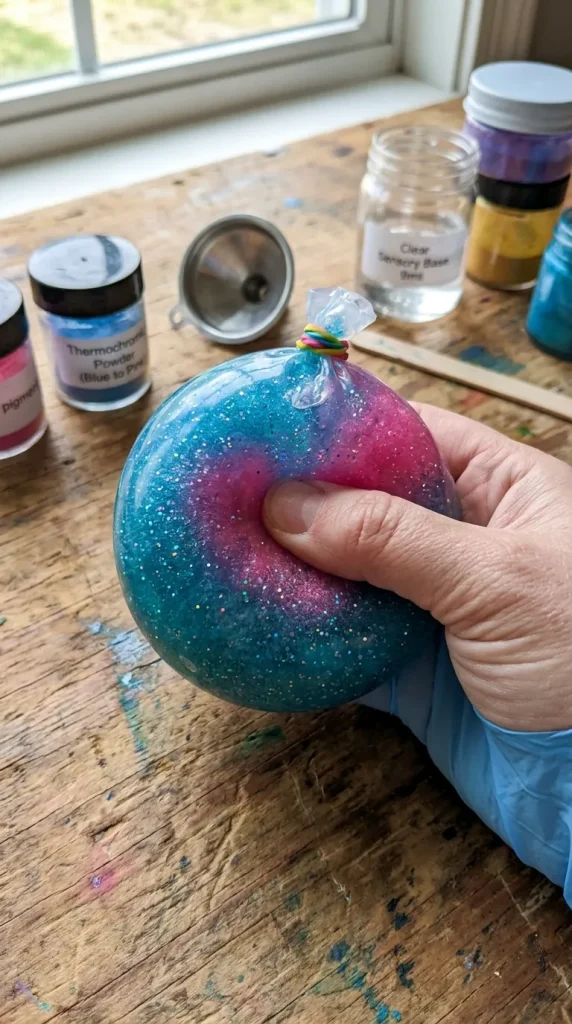
    9. Color-Changing NeeDoh Ball

    Create a fascinating sensory toy with color-changing elements.

    Materials Needed

    • Clear balloon
    • Thermochromic pigment
    • Hair gel

    Instructions

    1. Mix pigment into gel.
    2. Fill balloon.
    3. Tie securely.

    Fun Feature

    The color changes when warmed by your hands, creating an interactive experience.

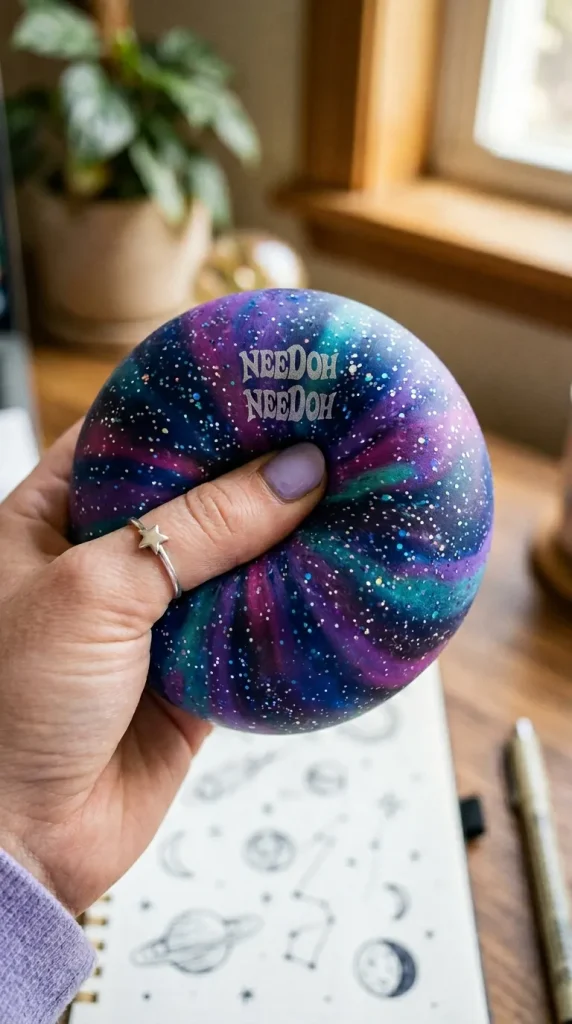
    10. Galaxy-Themed NeeDoh

    Bring the beauty of space into your DIY project.

    Materials Needed

    • Clear balloon
    • Dark-colored gel
    • Glitter
    • Blue and purple coloring

    Instructions

    1. Mix gel with colors and glitter.
    2. Fill the balloon.
    3. Tie securely.

    Why It’s Popular

    The cosmic appearance makes this one of the most visually stunning DIY NeeDoh ideas.

    Tips for Making Durable DIY NeeDoh Toys

    To ensure your homemade stress balls last longer:

    Use Double Balloons

    A second balloon layer reduces the risk of leaks and breakage.

    Avoid Overfilling

    Too much filling can cause the balloon to burst.

    Store Properly

    Keep your DIY NeeDoh away from sharp objects and direct sunlight.

    Choose Quality Balloons

    Thicker balloons provide better durability and flexibility.

    Safety Tips for DIY NeeDoh Projects

    While these crafts are generally safe, follow these precautions:

    • Supervise young children.
    • Avoid small materials for toddlers.
    • Check for balloon allergies.
    • Dispose of damaged stress balls immediately.
    • Use non-toxic materials whenever possible.

    Frequently Asked Questions

    What can I use instead of flour for DIY NeeDoh?

    You can use cornstarch, hair gel, kinetic sand, rice, foam beads, or water beads.

    Are DIY NeeDoh toys safe for kids?

    Yes, when made with non-toxic materials and under adult supervision.

    How long do homemade NeeDoh balls last?

    With proper care and double-layered balloons, they can last for several weeks or months.

    Can adults use DIY NeeDoh stress balls?

    Absolutely. Many adults use stress balls for relaxation, focus, and anxiety relief.

    Which DIY NeeDoh idea is best for beginners?

    The classic flour-filled stress ball is the easiest and most affordable option.

    Conclusion

    DIY NeeDoh ideas are a fantastic way to combine creativity, sensory play, and stress relief. Whether you choose a classic flour-filled stress ball, a glitter-filled sensory toy, or a galaxy-themed masterpiece, these projects offer endless opportunities for fun and customization.

    By making your own NeeDoh-inspired toys, you can save money, personalize designs, and enjoy a rewarding craft experience. Try these 10 DIY NeeDoh ideas today and discover your favorite squishy creation.

  • 10 Father’s Day Gift Ideas

    10 Father’s Day Gift Ideas

    Father’s Day is one of the most meaningful occasions of the year. It is a special time dedicated to honoring fathers, grandfathers, stepfathers, and father figures who have played a significant role in our lives. Finding the perfect Father’s Day gift can sometimes feel challenging because dads often say they “don’t need anything.” However, the right gift can show appreciation, love, and gratitude for everything they do.

    Whether your father enjoys technology, outdoor adventures, fitness, cooking, or sentimental keepsakes, there is a thoughtful gift that can make his day memorable. The best Father’s Day gifts are not always the most expensive. Instead, they reflect his interests, personality, and the bond you share.

    In this comprehensive guide, we will explore 10 Father’s Day gift ideas that are practical, meaningful, and guaranteed to make Dad smile. These gift suggestions suit a variety of budgets and preferences, making it easier to find something truly special.

    Why Father’s Day Gifts Matter

    A Father’s Day gift is more than just an item wrapped in a box. It represents appreciation and recognition for years of guidance, support, and care.

    Benefits of Giving Thoughtful Gifts

    • Strengthens family relationships
    • Shows gratitude and appreciation
    • Creates lasting memories
    • Makes fathers feel valued
    • Celebrates their hard work and sacrifices

    When selecting a Father’s Day gift, focus on what will bring joy and meaning to his everyday life.

    1. Personalized Photo Frame

    A personalized photo frame is one of the most sentimental Father’s Day gifts. It allows you to showcase cherished family memories while adding a personal touch.

    Why Dads Love It

    A custom photo frame reminds him of special moments every time he sees it. You can include a heartfelt message, family photo, or memorable quote.

    Best Features

    • Meaningful and emotional
    • Affordable gift option
    • Suitable for all ages
    • Perfect home decoration

    A personalized frame becomes a treasured keepsake that lasts for years.

    2. Smartwatch

    For dads who enjoy technology and fitness, a smartwatch is an excellent gift choice.

    Key Benefits

    • Tracks daily activity
    • Monitors heart rate
    • Displays notifications
    • Supports fitness goals
    • Stylish and practical

    Whether he enjoys walking, running, or simply staying connected, a smartwatch can enhance his daily routine.

    Ideal For

    • Tech-loving dads
    • Fitness enthusiasts
    • Busy professionals

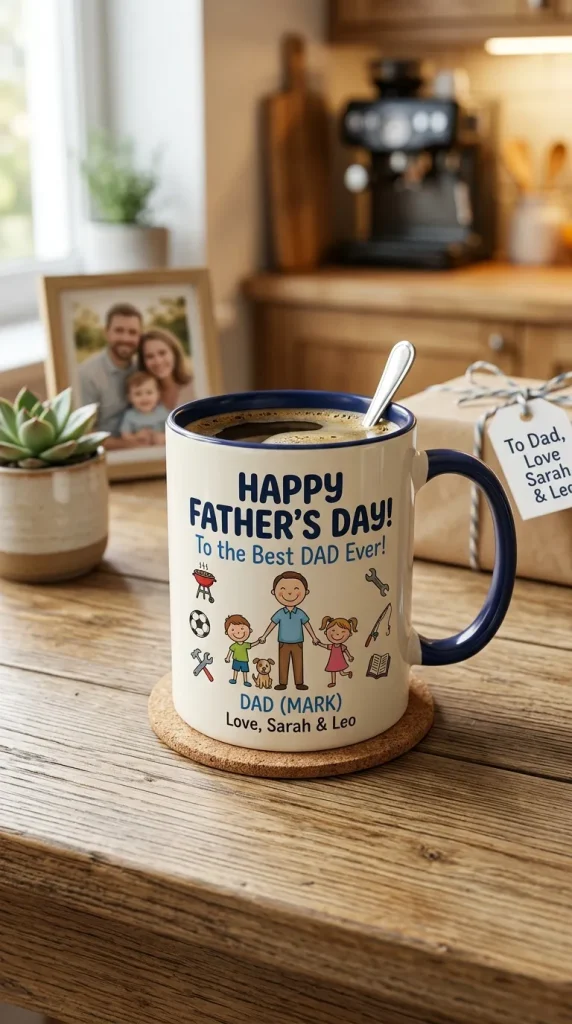
    3. Customized Coffee Mug

    A customized coffee mug is a simple yet thoughtful Father’s Day gift.

    Why It’s Popular

    Many dads start their day with coffee or tea. A mug featuring a family photo, funny quote, or personalized message can make every morning special.

    Gift Ideas

    • “World’s Best Dad” mug
    • Family photo mug
    • Personalized name mug
    • Funny dad joke mug

    This gift combines practicality with sentimentality.

    4. BBQ Grill Tool Set

    If your father enjoys outdoor cooking, a BBQ grill tool set can be a fantastic Father’s Day present.

    What’s Included

    Most sets feature:

    • Spatula
    • Tongs
    • Grill fork
    • Cleaning brush
    • Carrying case

    Why Dads Love It

    Grilling is often more than cooking—it’s a hobby. A premium tool set helps him prepare delicious meals while enjoying family gatherings.

    5. Wireless Earbuds

    Wireless earbuds are a modern gift that combines convenience and entertainment.

    Benefits

    • High-quality sound
    • Hands-free calling
    • Portable design
    • Great for workouts
    • Ideal for travel

    Whether listening to music, podcasts, or taking business calls, wireless earbuds are a versatile Father’s Day gift.

    Perfect For

    • Active dads
    • Commuters
    • Music lovers

    6. Personalized Leather Wallet

    A leather wallet is a timeless and practical gift that most fathers use daily.

    Why Choose a Personalized Wallet?

    Adding initials, a special date, or a meaningful message makes the gift unique and memorable.

    Features

    • Durable material
    • Stylish design
    • Functional storage
    • Long-lasting value

    A customized wallet combines elegance and personal sentiment.

    7. Outdoor Adventure Kit

    For fathers who love nature and adventure, an outdoor kit can be an exciting gift.

    What Can Be Included?

    • Flashlight
    • Multi-tool
    • Water bottle
    • Compass
    • Emergency supplies

    Best For

    • Campers
    • Hikers
    • Travelers
    • Outdoor enthusiasts

    This gift encourages exploration and adventure while providing practical value.

    8. Fitness Equipment

    Health-conscious fathers often appreciate gifts that support their wellness goals.

    Popular Fitness Gift Ideas

    • Resistance bands
    • Adjustable dumbbells
    • Yoga mat
    • Massage gun
    • Fitness tracker

    Benefits

    • Encourages healthy habits
    • Supports home workouts
    • Improves overall wellness

    Fitness-related gifts show that you care about his health and happiness.

    9. Subscription Box Service

    Subscription boxes have become increasingly popular because they provide ongoing surprises throughout the year.

    Popular Subscription Categories

    • Coffee subscriptions
    • Snack boxes
    • Book clubs
    • Grooming products
    • Gourmet food boxes

    Why It’s Special

    Instead of receiving a single gift, Dad gets something new every month, extending the Father’s Day experience beyond just one day.

    10. Memory Scrapbook

    A memory scrapbook is one of the most heartfelt Father’s Day gifts you can give.

    What to Include

    • Family photographs
    • Personal letters
    • Children’s drawings
    • Favorite memories
    • Inspirational quotes

    Why It Matters

    Unlike many material gifts, a scrapbook captures emotions and memories that can be revisited for years to come.

    This gift often becomes one of the most treasured possessions a father owns.

    How to Choose the Perfect Father’s Day Gift

    Choosing the right gift depends on understanding your father’s interests and lifestyle.

    Consider His Hobbies

    Think about activities he enjoys regularly, such as:

    • Sports
    • Technology
    • Reading
    • Cooking
    • Traveling

    Focus on Practicality

    Practical gifts often become daily essentials and provide long-term value.

    Add a Personal Touch

    Personalized gifts create emotional connections and demonstrate extra effort.

    Set a Budget

    Meaningful gifts do not need to be expensive. Thoughtfulness matters more than price.

    Father’s Day Gift Trends in 2026

    Modern Father’s Day gift trends focus on personalization, technology, and experiences.

    Trending Gift Categories

    • Smart gadgets
    • Personalized keepsakes
    • Wellness products
    • Eco-friendly gifts
    • Subscription services
    • Experience-based gifts

    Many families now prioritize meaningful experiences and customized gifts over generic presents.

    Common Father’s Day Gift Mistakes to Avoid

    Choosing Generic Gifts

    Avoid selecting items that lack personal meaning.

    Ignoring His Interests

    The best gifts align with his hobbies and lifestyle.

    Waiting Until the Last Minute

    Planning early gives you access to better gift options and customization services.

    Prioritizing Price Over Thoughtfulness

    Expensive gifts are not always the most appreciated. Personal meaning often matters more.

    Final Thoughts

    Father’s Day is an opportunity to celebrate the men who have supported, guided, and inspired us throughout our lives. Whether you choose a personalized photo frame, a smartwatch, a memory scrapbook, or a practical everyday item, the best Father’s Day gifts come from the heart.

    These 10 Father’s Day gift ideas offer something for every type of dad, regardless of his interests or personality. By selecting a thoughtful gift that reflects his passions and your appreciation, you can make Father’s Day truly unforgettable.

    Remember, the greatest gift is often the love, gratitude, and time you share together. Pair your present with a heartfelt message, and you’ll create memories that last far beyond Father’s Day.

  • 10 Quick Bun Styles for Short to Medium Hair Ideas

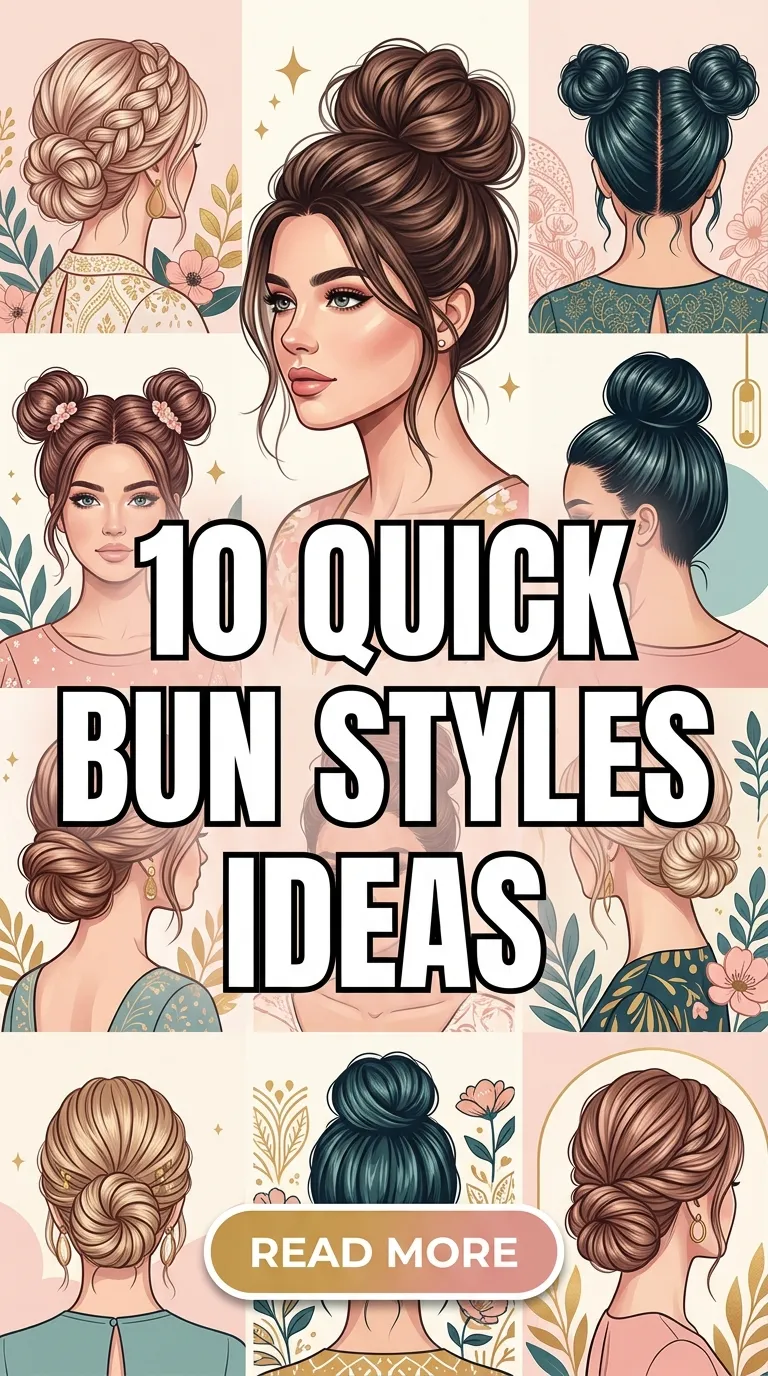
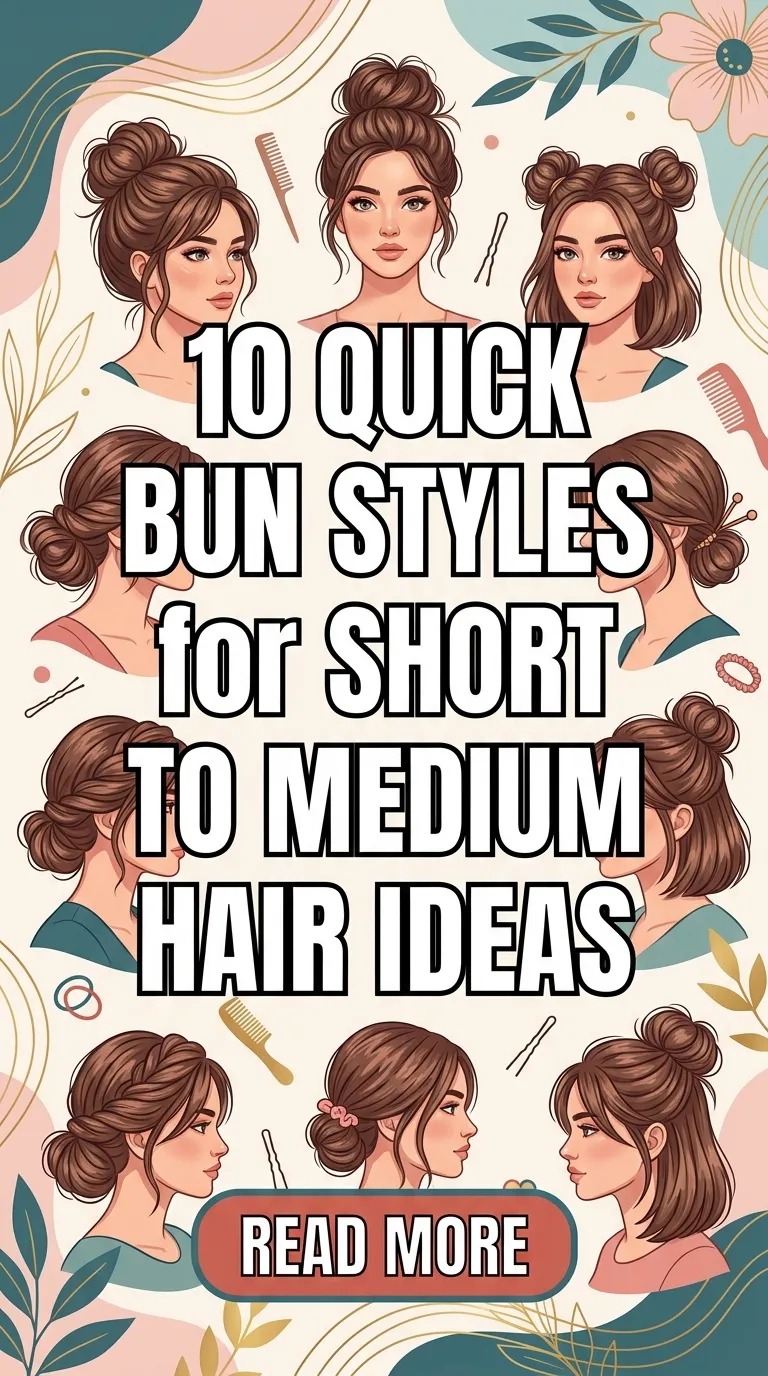
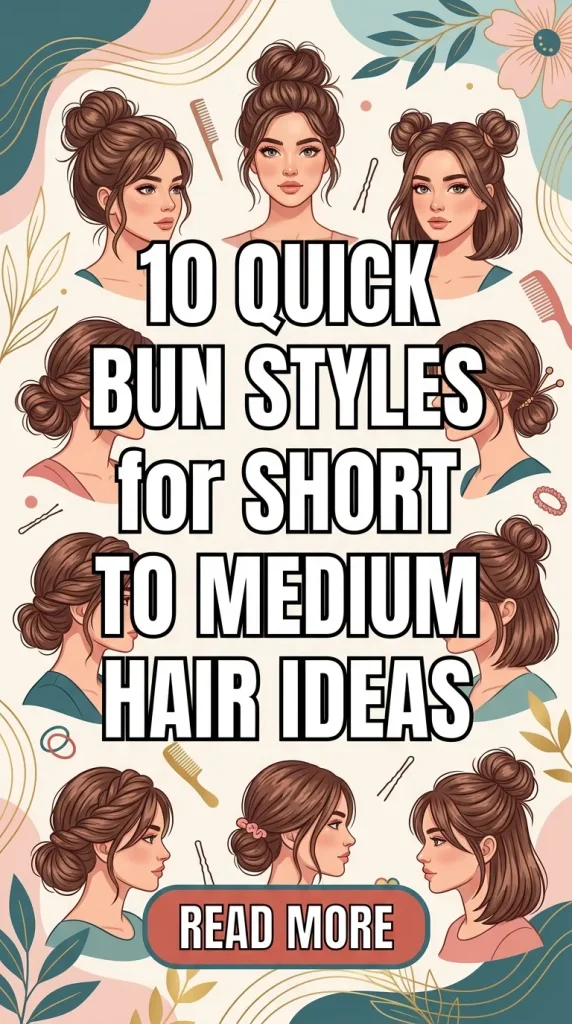
    10 Quick Bun Styles for Short to Medium Hair Ideas

    Finding the perfect hairstyle for short to medium-length hair can sometimes feel challenging. Many women assume that beautiful bun hairstyles are only suitable for long hair, but that’s far from the truth. With the right techniques and styling tricks, short to medium hair can be transformed into stunning bun hairstyles that look elegant, fashionable, and effortless.

    Bun hairstyles remain one of the most popular hair trends because they are versatile, practical, and suitable for almost every occasion. Whether you’re heading to work, attending a wedding, going on a date, or simply running errands, a quick bun hairstyle can instantly upgrade your appearance while keeping your hair neat and manageable.

    In this comprehensive guide, you’ll discover 10 quick bun styles for short to medium hair that are easy to recreate at home. These hairstyles require minimal effort while delivering maximum style, making them perfect for modern women with busy lifestyles.

    Why Bun Hairstyles Are Perfect for Short to Medium Hair

    Short and medium-length hair offers unique advantages when creating bun hairstyles. Unlike long hair, shorter lengths are often lighter, easier to manage, and quicker to style.

    Benefits of Bun Hairstyles

    • Easy and fast to create
    • Suitable for daily wear
    • Professional and elegant appearance
    • Protects hair from environmental damage
    • Works for various face shapes
    • Ideal for both casual and formal occasions
    • Requires minimal styling tools

    Now let’s explore the most beautiful and practical bun styles for short to medium hair.

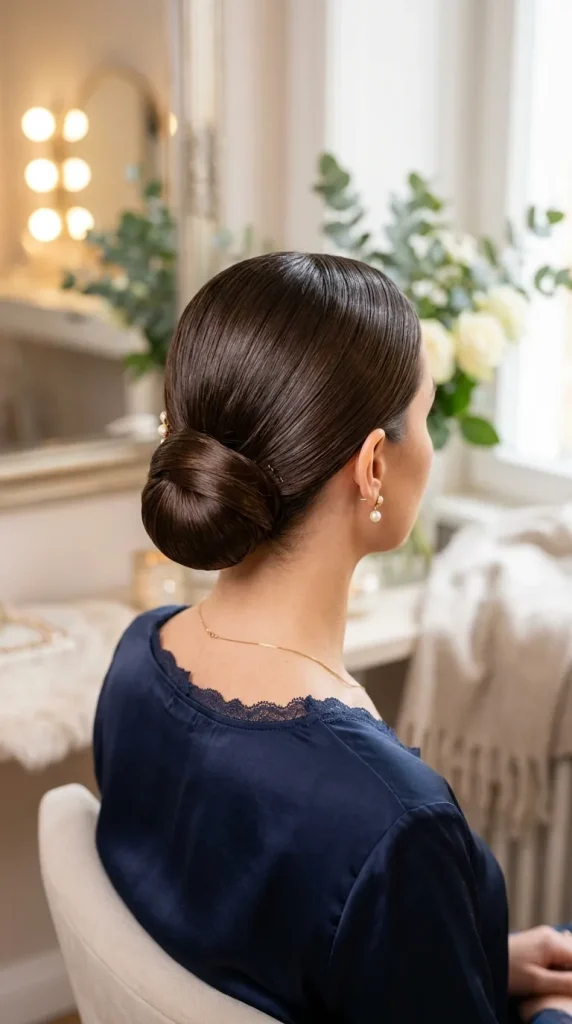
    1. Classic Low Bun

    The classic low bun is a timeless hairstyle that never goes out of fashion. Positioned at the nape of the neck, this style creates a polished and sophisticated look.

    How to Create It

    1. Brush your hair thoroughly.
    2. Gather it into a low ponytail.
    3. Twist the ponytail gently.
    4. Wrap it around the base.
    5. Secure with bobby pins.

    Why It Works for Short Hair

    The low placement helps keep shorter layers secure, making it an excellent option for medium and shoulder-length hair.

    Best Occasions

    • Office meetings
    • Formal events
    • Weddings
    • Professional gatherings

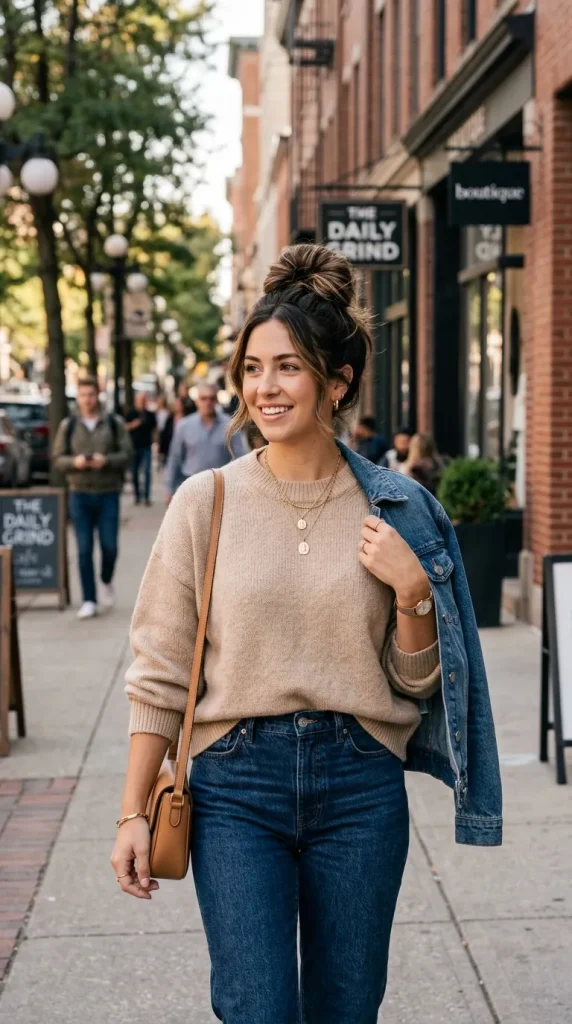
    2. Messy Mini Bun

    The messy mini bun is one of the easiest hairstyles for short hair. Its relaxed appearance creates an effortless yet trendy look.

    Styling Steps

    1. Gather hair loosely at the crown.
    2. Twist into a small bun.
    3. Leave a few strands around the face.
    4. Secure with an elastic and pins.

    Benefits

    • Takes less than five minutes
    • Adds volume to fine hair
    • Perfect for casual days
    • Creates a youthful appearance

    This hairstyle is ideal for women who love natural and relaxed beauty trends.

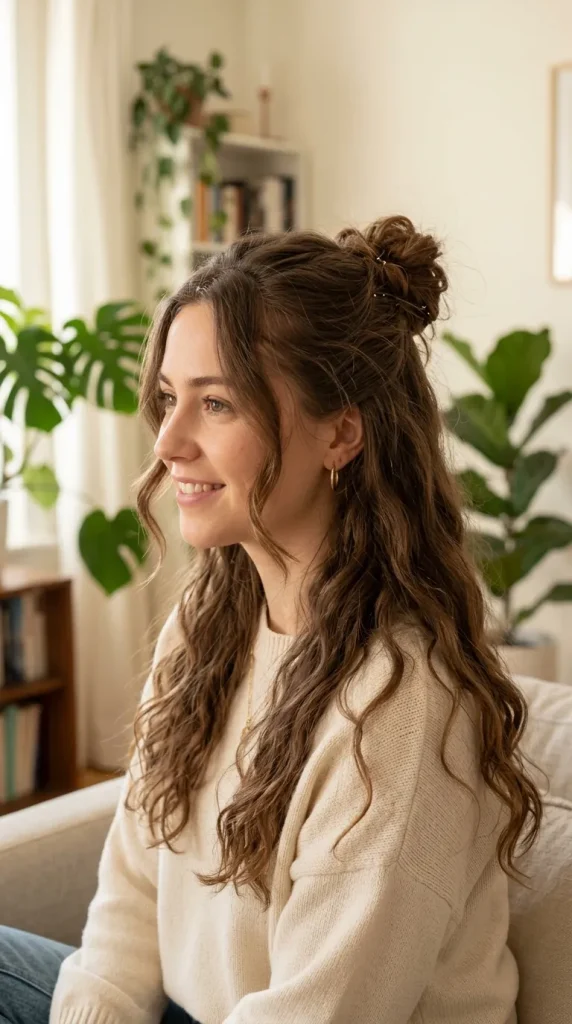
    3. Half-Up Bun

    The half-up bun combines the elegance of a bun with the softness of loose hair.

    How to Style

    1. Section off the top half of your hair.
    2. Gather it into a ponytail.
    3. Twist and wrap into a bun.
    4. Leave the remaining hair down.

    Why Women Love It

    This hairstyle provides volume while showcasing the natural texture of your hair.

    Perfect For

    • Coffee dates
    • Weekend outings
    • Casual office looks
    • Everyday fashion

    4. Twisted Low Bun

    The twisted low bun adds texture and sophistication to short and medium hair.

    Steps

    1. Divide hair into two sections.
    2. Twist both sections toward the back.
    3. Combine them into a bun.
    4. Secure with pins.

    Advantages

    • Looks more detailed than a basic bun
    • Easy to create
    • Suitable for all hair textures
    • Elegant yet simple

    This hairstyle is ideal for women seeking a chic appearance without spending too much time styling.

    5. Top Knot Bun for Medium Hair

    The top knot is a modern hairstyle loved by fashion enthusiasts worldwide.

    Styling Guide

    1. Gather hair high on the head.
    2. Create a ponytail.
    3. Twist the hair around itself.
    4. Secure tightly.

    Benefits

    • Creates the illusion of longer hair
    • Keeps hair off the face
    • Great for busy schedules
    • Stylish and contemporary

    A top knot works particularly well on medium-length hair with some natural volume.

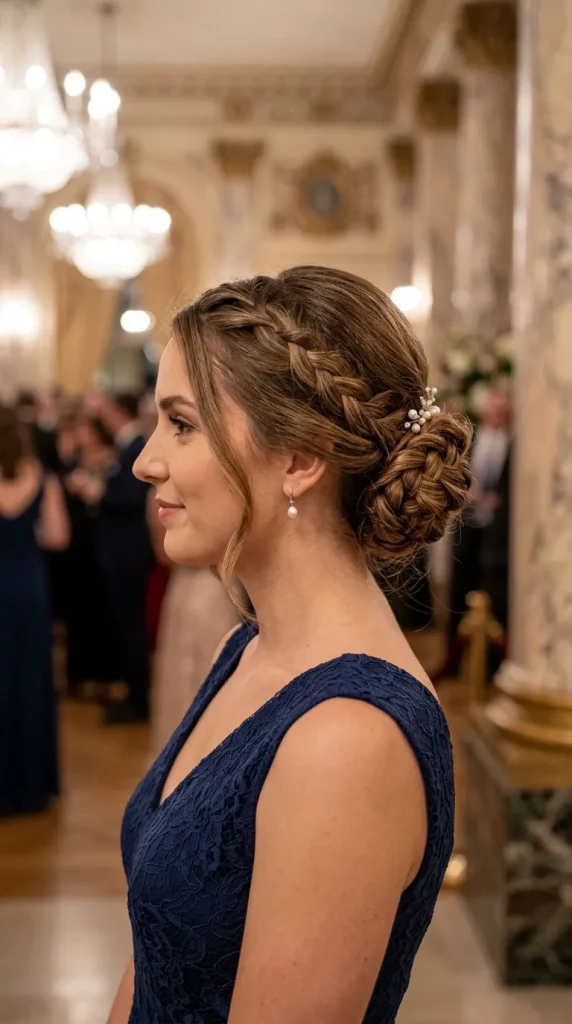
    6. Braided Bun

    Braided buns add elegance and texture, making them perfect for special occasions.

    How to Create

    1. Make a small braid.
    2. Gather remaining hair into a low ponytail.
    3. Wrap the braid around the bun.
    4. Pin securely.

    Best Uses

    • Wedding guest hairstyles
    • Family celebrations
    • Holiday events
    • Formal dinners

    The braid adds visual interest and makes the hairstyle appear more intricate.

    7. Side Bun

    A side bun creates a romantic and feminine look that complements many face shapes.

    Steps

    1. Sweep hair to one side.
    2. Form a low ponytail.
    3. Twist into a bun.
    4. Secure with pins.

    Why It’s Popular

    The side placement creates softness and elegance, especially when paired with loose curls.

    Suitable For

    • Date nights
    • Parties
    • Engagement ceremonies
    • Bridal events

    8. Textured Bun

    A textured bun is perfect for women with layered or medium-length hair.

    Styling Instructions

    1. Apply texturizing spray.
    2. Tease the roots slightly.
    3. Gather hair loosely.
    4. Create a relaxed bun.
    5. Secure while maintaining volume.

    Benefits

    • Creates fullness
    • Ideal for thin hair
    • Trendy and modern
    • Adds dimension

    Textured buns remain one of the most requested hairstyles in salons today.

    9. Double Mini Buns

    Double mini buns, also known as space buns, are playful and stylish.

    How to Create

    1. Divide hair into two equal sections.
    2. Create two ponytails.
    3. Twist each section into a bun.
    4. Secure with pins.

    Perfect For

    • Festivals
    • Concerts
    • Casual fashion looks
    • Social media photoshoots

    This hairstyle adds personality and creativity to your overall appearance.

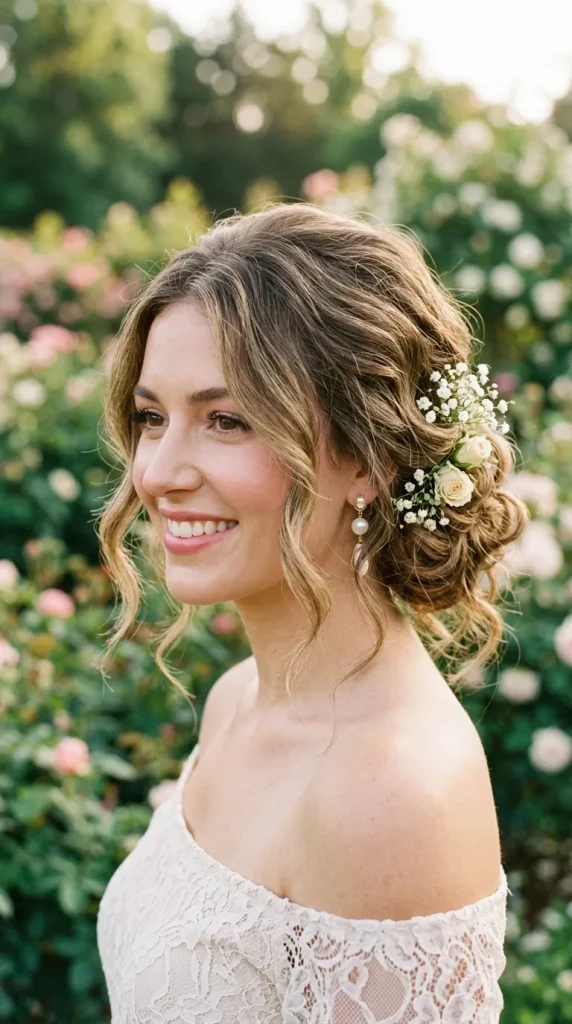
    10. Loose Low Bun with Face-Framing Strands

    This hairstyle offers a perfect combination of elegance and softness.

    Styling Steps

    1. Gather hair into a loose low ponytail.
    2. Twist into a bun.
    3. Pull out a few strands near the face.
    4. Add light curls if desired.

    Why Women Love It

    • Romantic appearance
    • Easy to create
    • Works for short and medium hair
    • Suitable for formal and casual events

    The face-framing strands create a flattering effect that enhances natural beauty.

    Tips for Making Bun Hairstyles Look Fuller

    Women with short or medium hair can make their buns appear larger using these simple tricks:

    Use a Texturizing Spray

    Texturizing products create grip and volume, making buns look fuller.

    Tease the Crown

    Backcombing the crown area adds height and dimension.

    Use Bun Accessories

    Small bun makers and hair donuts can create the illusion of thicker hair.

    Curl Hair First

    Adding waves before styling creates extra texture and volume.

    Pull Sections Gently

    Loosening certain areas after securing the bun helps achieve a fuller appearance.

    Best Hair Accessories for Bun Hairstyles

    Accessories can instantly elevate a simple bun hairstyle.

    Popular options include:

    • Pearl hair pins
    • Decorative clips
    • Satin scrunchies
    • Floral accessories
    • Metallic hair cuffs
    • Rhinestone pins

    These accessories can transform an everyday bun into a glamorous hairstyle.

    Choosing the Right Bun Style for Your Face Shape

    Round Face

    • Top knot bun
    • Textured bun
    • Half-up bun

    Oval Face

    • Nearly all bun styles work beautifully

    Square Face

    • Side bun
    • Loose low bun
    • Messy mini bun

    Heart-Shaped Face

    • Low bun
    • Twisted bun
    • Braided bun

    Choosing a hairstyle that complements your face shape can enhance your overall appearance.

    Final Thoughts

    Short and medium-length hair offers endless styling possibilities, especially when it comes to bun hairstyles. From elegant low buns to trendy top knots and playful double buns, there are countless ways to create stylish looks without needing long hair.

    These 10 quick bun styles for short to medium hair prove that beautiful hairstyles can be simple, practical, and fashionable at the same time. Whether you’re preparing for work, a special event, or a casual outing, these bun ideas will help you achieve a polished and confident look in just minutes.

    Experiment with different styles, accessories, and textures to find the bun hairstyle that best matches your personality and lifestyle.

  • 10 Quick Bun Styles Ideas for Women

    10 Quick Bun Styles Ideas for Women

    When it comes to hairstyles that are stylish, practical, and timeless, bun hairstyles remain a favorite among women of all ages. Whether you’re rushing to work, attending a wedding, heading to the gym, or preparing for a casual day out, a quick bun can instantly elevate your look while keeping your hair neat and manageable.

    The best part about bun hairstyles is their versatility. From sleek and sophisticated styles to relaxed and messy buns, there is a perfect option for every hair type, face shape, and occasion. In today’s fast-paced lifestyle, women often seek hairstyles that require minimal effort while still looking elegant and fashionable.

    In this guide, we’ll explore 10 quick bun styles ideas for women that are trendy, easy to create, and suitable for both casual and formal events. These hairstyles can be done within minutes and will help you achieve a polished appearance without spending hours in front of the mirror.

    Why Bun Hairstyles Are So Popular

    Bun hairstyles have become a staple in modern beauty routines for several reasons:

    • Easy and quick to create
    • Suitable for all hair lengths
    • Perfect for formal and casual occasions
    • Helps protect hair from damage
    • Keeps hair neat and manageable
    • Works well with accessories
    • Complements various face shapes

    Let’s dive into the most stylish quick bun ideas every woman should try.

    1. Classic Low Bun

    The classic low bun is one of the most elegant and timeless hairstyles. Positioned at the nape of the neck, this style is perfect for office meetings, weddings, and formal events.

    How to Create It:

    1. Brush your hair smoothly.
    2. Gather hair into a low ponytail.
    3. Twist the ponytail.
    4. Wrap it around the base.
    5. Secure with bobby pins.

    Why Women Love It

    • Sophisticated appearance
    • Suitable for professional settings
    • Complements formal outfits
    • Easy to accessorize

    The classic low bun never goes out of style and works beautifully on straight, wavy, or slightly curly hair.

    2. Messy Bun

    The messy bun is a favorite among women who want an effortless yet chic look. This hairstyle creates a relaxed vibe while still looking fashionable.

    How to Create It:

    1. Gather hair loosely at the crown.
    2. Twist and wrap it casually.
    3. Pull out a few face-framing strands.
    4. Secure with pins or a hair tie.

    Best Occasions

    • Casual outings
    • Shopping trips
    • Coffee dates
    • Weekend activities

    The beauty of a messy bun lies in its imperfections, making it ideal for busy mornings.

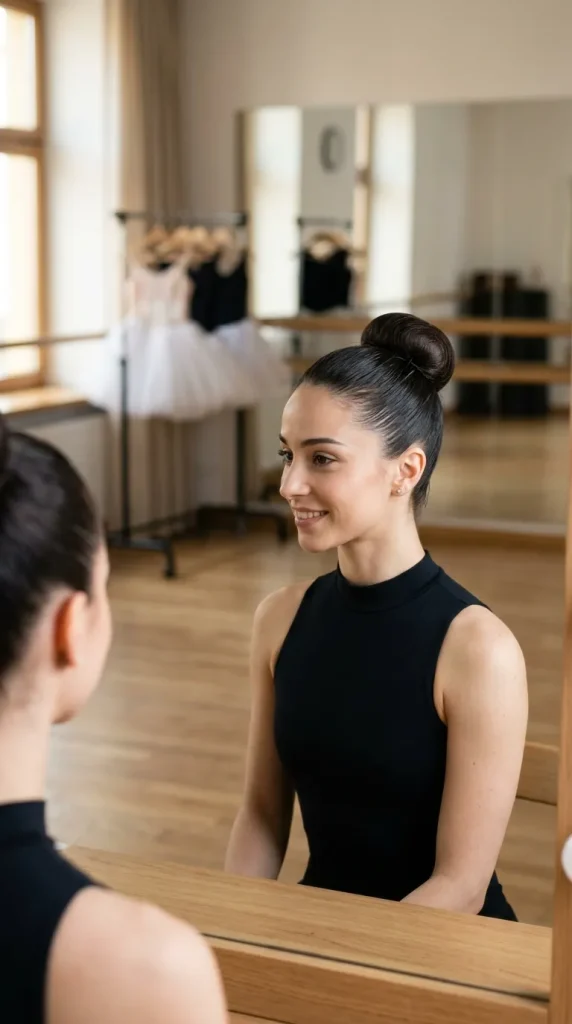
    3. High Ballet Bun

    Inspired by dancers, the high ballet bun is sleek, polished, and incredibly elegant.

    How to Create It:

    1. Brush hair upward.
    2. Create a high ponytail.
    3. Twist hair tightly.
    4. Wrap into a neat bun.
    5. Secure firmly.

    Benefits

    • Creates a sophisticated look
    • Highlights facial features
    • Ideal for formal occasions
    • Keeps hair secure all day

    This hairstyle is especially popular for weddings, parties, and professional events.

    4. Braided Bun

    A braided bun combines two classic hairstyles into one stunning look. It adds texture and visual interest while remaining elegant.

    Steps:

    1. Make a ponytail.
    2. Braid the ponytail.
    3. Wrap the braid around the base.
    4. Secure with pins.

    Perfect For:

    • Bridal events
    • Festivals
    • Family gatherings
    • Evening parties

    Braided buns can make even simple outfits appear more stylish and refined.

    5. Top Knot Bun

    The top knot bun is trendy, youthful, and practical. It has become a popular hairstyle among fashion influencers and celebrities.

    How to Style:

    1. Gather hair at the top of your head.
    2. Twist into a knot.
    3. Secure tightly.
    4. Leave some strands loose for a relaxed look.

    Advantages

    • Quick to create
    • Suitable for all seasons
    • Looks modern and trendy
    • Perfect for busy lifestyles

    Women often choose top knots for workouts, errands, and casual gatherings.

    6. Side Bun

    The side bun offers a romantic and feminine appearance that works beautifully for special occasions.

    Styling Process:

    1. Sweep hair to one side.
    2. Create a low side ponytail.
    3. Twist and wrap into a bun.
    4. Pin securely.

    Best Occasions

    • Weddings
    • Engagement parties
    • Romantic dinners
    • Formal events

    Adding curls before styling can enhance the elegance of this hairstyle.

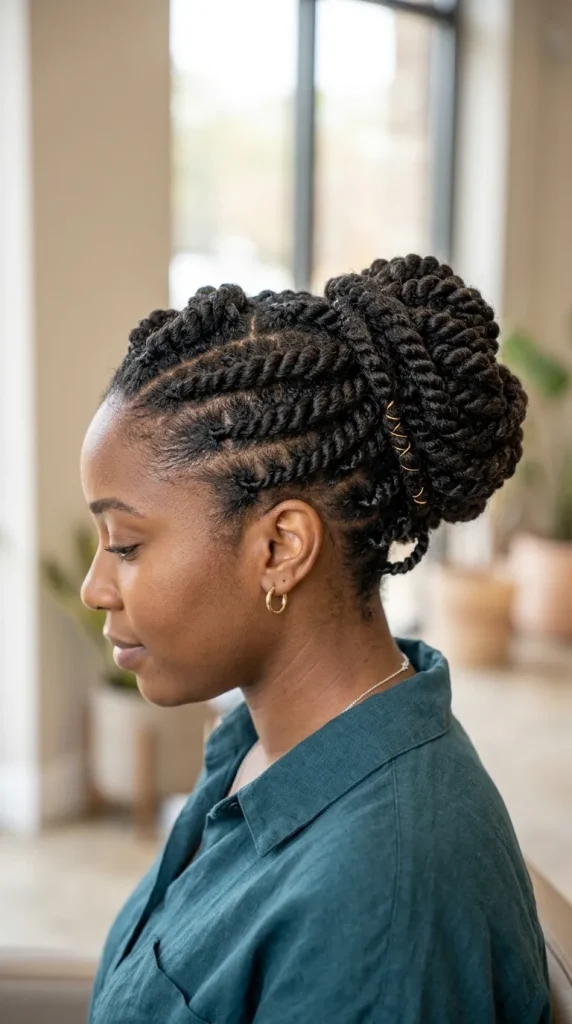
    7. Twisted Bun

    The twisted bun creates dimension and texture without requiring advanced hairstyling skills.

    How to Make It:

    1. Divide hair into sections.
    2. Twist each section individually.
    3. Combine twists into a bun.
    4. Secure with bobby pins.

    Why It’s Popular

    • Looks intricate
    • Easy to create
    • Suitable for medium and long hair
    • Adds volume and texture

    This style works exceptionally well for women seeking a unique everyday hairstyle.

    8. Space Bun Style

    Space buns are fun, playful, and trendy. This hairstyle features two buns positioned on either side of the head.

    Steps:

    1. Divide hair into two sections.
    2. Create two ponytails.
    3. Twist each ponytail.
    4. Form two buns.
    5. Secure with pins.

    Ideal For:

    • Festivals
    • Concerts
    • Casual events
    • Youthful fashion looks

    Space buns are particularly popular among younger women and social media creators.

    9. Sock Bun

    The sock bun is famous for creating a perfectly round and voluminous bun.

    How to Create:

    1. Use a bun maker or sock.
    2. Pull hair through the center.
    3. Spread hair evenly.
    4. Roll downward.
    5. Secure in place.

    Benefits

    • Creates extra volume
    • Looks neat and professional
    • Long-lasting hold
    • Suitable for formal occasions

    This hairstyle remains a favorite among women with medium to long hair.

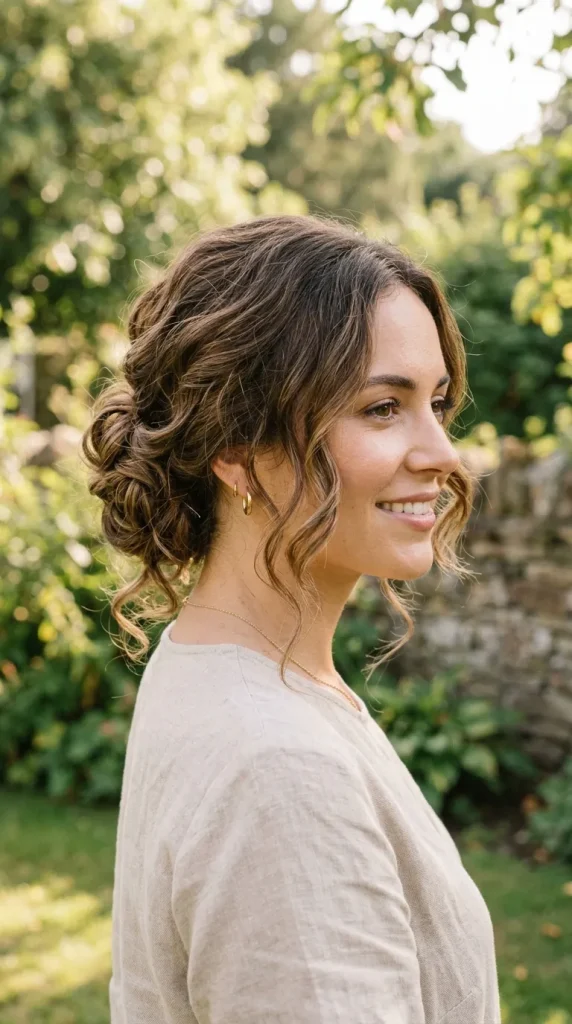
    10. Loose Textured Bun

    The loose textured bun offers a balance between elegance and casual charm. It is ideal for modern women who prefer soft, natural-looking hairstyles.

    Styling Guide:

    1. Curl hair lightly.
    2. Gather loosely.
    3. Twist gently.
    4. Secure with pins.
    5. Pull out a few strands.

    Perfect For:

    • Date nights
    • Weddings
    • Evening events
    • Everyday elegance

    The textured appearance creates a sophisticated yet effortless finish.

    Tips for Making Your Bun Last All Day

    To ensure your bun remains secure and beautiful:

    Use Quality Hair Products

    Apply light styling mousse or texturizing spray before creating the bun.

    Secure Properly

    Use strong bobby pins and elastic bands that match your hair color.

    Add Hair Accessories

    Decorative clips, pearl pins, and scrunchies can enhance your hairstyle.

    Avoid Over-Tightening

    Excessively tight buns can cause discomfort and hair breakage.

    Finish with Hairspray

    A light mist of hairspray helps maintain the style throughout the day.

    Choosing the Right Bun Style for Your Face Shape

    Round Face

    • High ballet bun
    • Top knot bun
    • Twisted bun

    Oval Face

    • Almost all bun styles work well

    Square Face

    • Side bun
    • Loose textured bun
    • Messy bun

    Heart-Shaped Face

    • Low bun
    • Braided bun
    • Soft textured styles

    Selecting the right bun can enhance your natural features and create a balanced appearance.

    Final Thoughts

    Bun hairstyles continue to dominate beauty trends because they combine convenience, versatility, and elegance. Whether you prefer a polished low bun for professional settings, a trendy top knot for casual outings, or a romantic side bun for special occasions, there is a perfect style for every woman.

    These 10 quick bun styles ideas for women prove that looking fashionable doesn’t require hours of hairstyling. With a few simple techniques and minimal tools, you can create stunning hairstyles that suit any event, mood, or personal style.

    Try these bun hairstyles and discover which one becomes your signature look. With practice, you’ll be able to create these beautiful styles in just a few minutes while maintaining a chic and confident appearance.

  • Hello world!

    Welcome to WordPress. This is your first post. Edit or delete it, then start writing!